Category: Application Notes
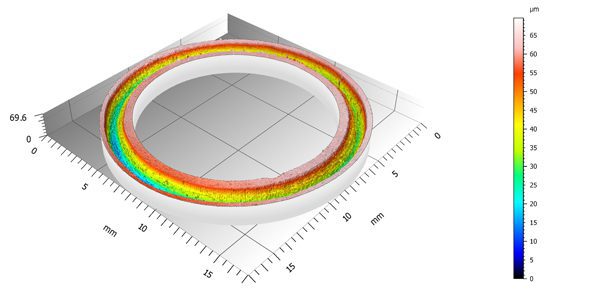
3D Wear Track Scan In Situ on Tribometer
Conventional pin-on-disc or reciprocating tribometer records the COF during the wear test. The wear rate is measured after the wear test by moving the sample to a profilometer and scanning the cross section profiles of the wear track. Such a method may introduce errors when the sample possesses an inhomogeneous wear track. Moreover, samples like multilayer coatings possess different wear resistance at different layers of the coating. A more reliable and repeatable technique for wear evaluation is in need – Nanovea developed a tribometer equipped with a 3D non-contact profilometer that performs a 3D scan of the complete wear track on the sample stage of the tribometer. It monitors the evolution of the 3D wear track morphology, allowing users to accurately calculate the wear rate and determine the failure mode at different stages using one test sample.
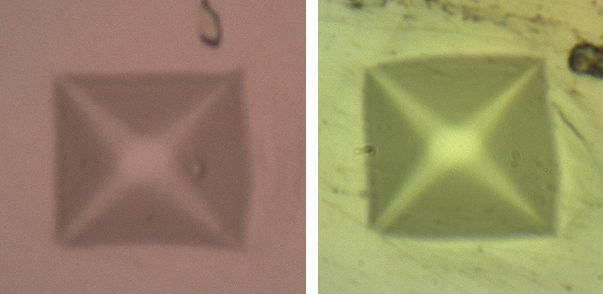
Low Load Vickers Hardness Measurement
During Vickers Hardness inevitable user errors are introduced during the measurement of the imprint under the microscope. Especially at low loads, small measurement errors of the indent size will produce large hardness deviations. In comparison, nanoindentation testing evaluates the mechanical properties of a material by driving the indenter tip into the test material and precisely recording the evolution of load and displacement of the tip. It avoids user errors in imprint size measurement.
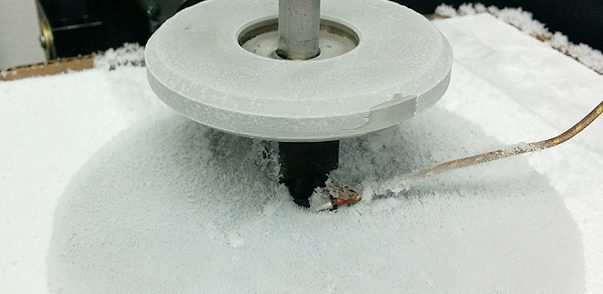
Low Temperature Tribology
A reliable measurement of low temperature tribology, static and dynamic coefficient of friction, COF, as well as wear behavior is needed in order to better understand the tribological performance of materials for sub-zero applications. It provides a useful tool to correlate the frictional property with the influence of various factors, such as reactions at the interface, interlocking surface features, cohesion of surface films, and even microscopic solid static junctions between surfaces at low temperatures.
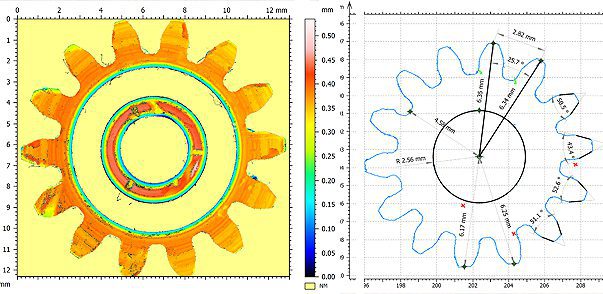
Gear Contour Analysis
Manufacturing of high precision gears requires stringent quality control, in order to obtain the best operational conditions and energy efficiency. Surface defects on the gears may lead to negative impact on the gear mesh quality. Moreover, during the service time, wear and tear takes places, creating surface defects such as dents and cracks in the gears that may result in decreased power transmission efficiency and potential mechanical failure. An accurate and quantifiable tool for surface inspection is in need. Unlike a touch probe technique, the Nanovea Profilometer performs 3D contour analysis of the sample without touching, making it possible to precisely scan samples with a complex shape, such as gears of different geometry.
Macro Adhesion Failure of DLC
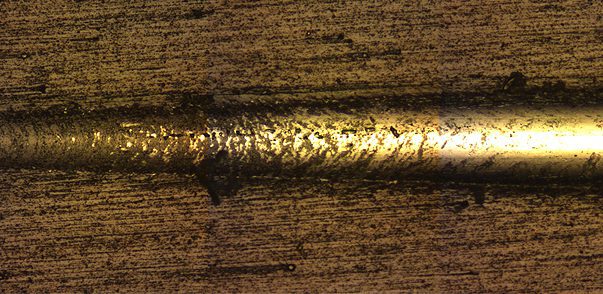
bits and bearings. Under such extreme conditions, sufficient cohesive and adhesive strength of the coating/substrate system becomes vital. In order to select the best metal substrate for the target application and to establish a consistent coating process for DLC, it is critical to develop a reliable technique to quantitatively assess cohesion and adhesion failure of different DLC coating systems.
Cohesive & Adhesive Strength of DLC Using Macro Scratch Testing
Replica Molding of Inner Pipe Corrosion
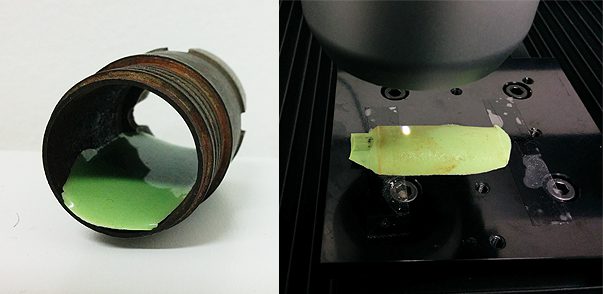
Surface finish of the metal pipe is critical for its product quality and performance. Rust progressively builds up and pits initiate and grow on the metal surface as corrosion process takes place, resulting in roughening of the pipe surface. The differential galvanic properties between metals, the ionic influences of solutions as well as the solution pH may all play roles in the pipe corrosion process, leading to corroded metal with different surface features. An accurate surface roughness and texture measurement of the corroded surface provides insight in the mechanisms involved in a specific corrosion process. Conventional profilometers have difficulty in reaching in and measuring the corroded inner pipe wall. Replica molding provides a solution by replicating the inner surface features in a non-destructive way. It can easily be applied on the inner wall of the corroded pipe and sets in 15 min. We scan the replicated surface of the replica molding to obtain the surface morphology of the inner pipe wall.
Corrosion Resistance of Coating After Scratch Testing
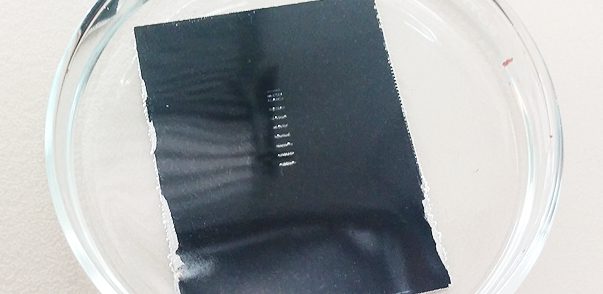
The corrosion resistant coatings should possess sufficient mechanical strength as they are often exposed to abrasive and erosive application environments. For example, the abrasive oil sands constantly wear away the inside of pipe, which progressively compromise the pipe’s integrity and potentially result in failure. In auto industry, corrosion takes place at the location of scratches on the auto
paint, especially during freezing winter when salts are applied on road. Therefore, a quantitative and reliable tool for measuring the
influence of scratch testing on protective coatings and its corrosion resistance is in need, in order to select the most proper coating for the intended application.
Ball Bearing Macro Tribology
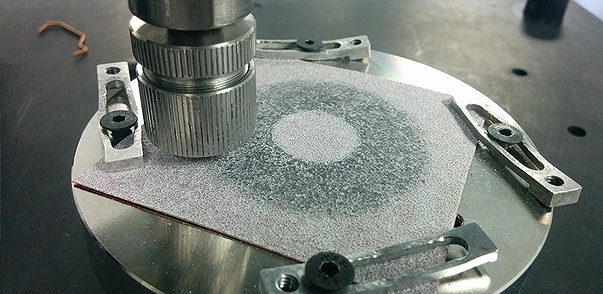
Ball bearings can be made from many different materials, such as metals including stainless steel and chrome steel, and ceramic such as WC and Si3N4. In order to ensure that the manufactured ball bearings possess required wear resistance under the application conditions, reliable tribological evaluation under a high load is in need. It allows us to quantitatively compare the wear behaviors of different ball bearings in a controlled and monitored manner and to select the best candidate for the targeted application. Conventional pin-on-disc tribometers usually have a fixed wear track radius. The ball bearing always slides in the same wear track throughout the wear test. The sandpaper might wear out faster than the ceramic ball bearings with superior wear resistance, which undermines the reproducibility of the wear test on the ball bearings.
Vickers Hardness vs. Instrumented Macroindentation
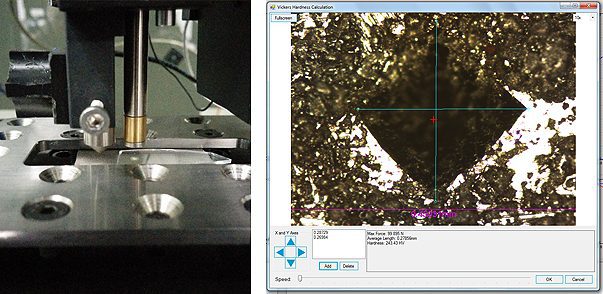
Macroindentation hardness tests are widely used to determine the overall hardness of a material. There are a variety of macrohardness measurements, including but not limited to Vickers hardness test (HV), Brinell hardness test (HB), Knoop hardness test (HK) and Rockwell hardness test (HR). With one of the largest scales among hardness tests, the Vickers test is widely used for measuring the hardness of all metals. Vickers hardness uses a diamond in the form of a square-based pyramid with an angle to the horizontal plane of 22° on each side. It indents on the sample surface and creates a square imprint. By measuring the average length of the diagonal, d, the Vickers hardness can be calculated using the formula: where F is in N and d is in millimeters. Here, accurate measurement of the d value is critical in order to obtain accurate hardness values. In comparison, instrumented indentation technique directly measures the mechanical properties from indentation load & displacement measurements. No visual observation of the indent is required; eliminating user error in determining the d values of the indentation.
Measure Large Surfaces With 3D Profilometry
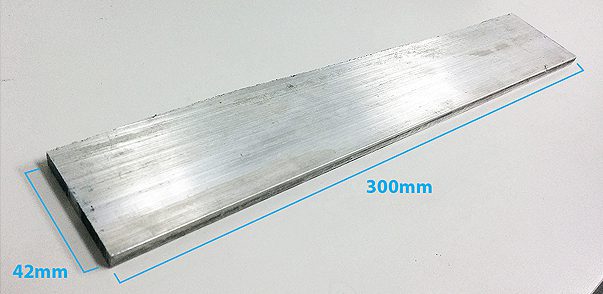
Fabrication shops and machine shops often handle large quantity of metal for fabrication. Therefore, a fast and precise measurement of the 3D surface morphology on a large surface is in need to ensure the narrowest tolerances in quality control. It also makes it possible to implement the Nanovea 3D profilometer in the production/fabrication line to monitor the surface quality of the metal parts in situ. High resolution 3D scan can quickly detect and report any defects such as pits, cracks or extrusions created during the fabrication processes. In addition to metals, virtually any kinds of surfaces fabricated from different materials such as ceramics, plastics and glasses can be measured in a timely fashion by Nanovea 3D noncontact profilometer, making it an ideal tool for surface inspection in manufacture/fabrication lines.


