Category: Application Notes
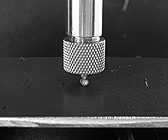
Tribological Properties of PTFE Using Tribometer
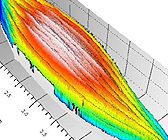
Seed Surface Topography Using 3D Profilometry
In this application the Nanovea ST400 Profilometer is used to measure the surface of a tomato seed and romaine lettuce seed. The entire surface of each seed was scanned with a high resolution. Various analyses will be used to characterize the surfaces
including surface roughness, contour analysis, and texture direction.
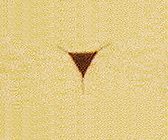
Fracture Toughness Measurement Using Nanoindentation
In this study, the Nanovea Mechanical Tester, in Nanoindentation mode, is used to evaluate the fracture toughness of a fused silica sample. The fused silica sample was chosen for its commonly recognized fracture toughness values to display the control and accuracy using nanoindentation.
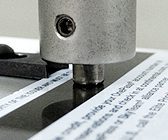
Wear Resistance of Magnetic Stripes Using Tribometer
In this application, the Nanovea Tribometer is used to simulate the wear process of the magnetic stripes on cards and measure the wear resistance and coefficient of friction in a controlled and repeatable manner.
Dental Screw Dimensions Using 3D Profilometry
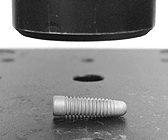
In this application the Nanovea ST400 Profilometer is used to measure a flat surface along with screw thread features in a single measurement on a dental screw. The surface roughness will be calculated from the flat area, and various dimensions of the thread features will be determined.
Rotative and Linear Wear Comparative Study
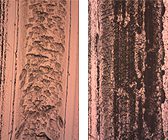
The wear rate of an acrylic plate is measured in a controlled and monitored manner using linear and rotative wear test setups on the Nanovea Tribometer for comparison. In this study we would like to showcase the versatility of the Nanovea Tribometer in measuring wear rate using multiple setups.
Tooth Wear Measurement Using 3D Profilometry
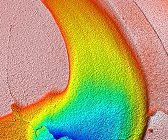
In this application the Nanovea ST400 Profilometer is used to measure the surface of a tooth sample mounted in epoxy that has been put through a chewing simulator. The area measured was the resulting wear and the surrounding surface area. The
maximum width, depth, perimeter, surface area, and volume lost will be used to characterize the wear track.
FastMap — High Speed Nanoindentation Mapping
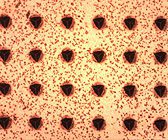
In this application, the Nanovea Mechanical Tester, in FastMap mode is used to map the mechanical property of a circuit board at a high speed. We would like to showcase the capacity of Nanovea Mechanical Tester in performing fast nanoindentation mapping with high precision and reproducibility.
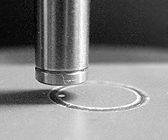
In Situ Non Contact Measurement of Wear Rate Evolution
The wear process of an anodized coating is simulated in a controlled and monitored manner using the Nanovea Tribometer equipped with a non-contact profilometer. We would like to showcase that the Tribometer is an ideal tool for evaluation and quality control of various protective coatings including anodized aluminum.
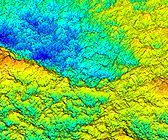
Surface Analysis of Carbon & Zeolite Catalysts Using 3D Profilometry
In this application the Nanovea ST400 Profilometer is used to measure the surface of carbon and zeolite catalysts. The area measured was selected at random, and assumed large enough in that it could be extrapolated to make assumptions about a much larger surface. Surface roughness and developed area will be used to characterize the available surface area.
Surface Analysis of Carbon & Zeolite Catalysts Using 3D Profilometry


