Monthly Archives: January 2013

Surface Boundary Measurement Using 3D Profilometry
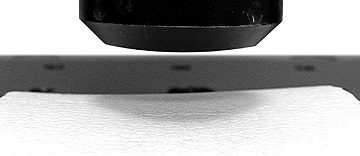
In this application the Nanovea ST400 Profilometer is used for surface boundary measurement of Styrofoam. Boundaries were established by combining a reflected intensity file along with the topography, which are simultaneously acquired using the Profilometer. This data was then used to calculate different shape and size information of each Styrofoam “grain”.
Here are examples of materials we tested this month:

Mechanical:
• Nanoindentation dma of soft polymer
• Nanoindentation fracture of micro ceramic parts
• Nanoscratch of medical coatings
• Nanofriction of catheter
• Microindentation multi cycle of alloy samples
• Microscratch of dlc coating
• Microscratch of ptfe coating

3D Non-Contact Profilometry:
• Volume loss of abraded silica
• Topography of various spray coatings
• Roughness engine parts
• Roughness of ti coatings
• Texture of molded plastic surfaces
• Thickness of transparent plastics
• Wear rate of polished concrete coating
• Wear & friction of ptfe coating
• Wear rate of ti coatings


