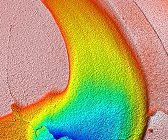
Tooth Wear Measurement Using 3D Profilometry
In this application the Nanovea ST400 Profilometer is used to measure the surface of a tooth sample mounted in epoxy that has been put through a chewing simulator. The area measured was the resulting wear and the surrounding surface area. The
maximum width, depth, perimeter, surface area, and volume lost will be used to characterize the wear track.
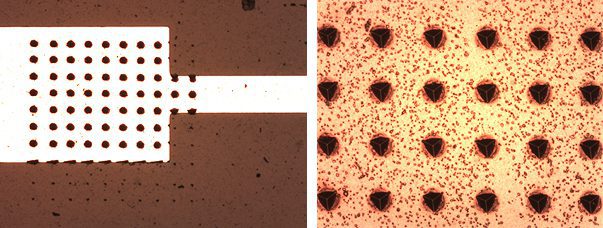
FastMap High Speed Nanoindentation Mapping
With speed as fast as 3 seconds per indent using a fast piezo controller, Nanoindentation mapping can now be achieved with reproducibility and accuracy only seen at lower speeds until now.
Surface Measurement. What Interferometry Is Not Telling You.
What’s important ACCURACY or RESOLUTION? Nanovea gathers critical information on the matter and further evaluates Interferometry versus Axial Chromatism. Although resolution provides a nice image on the screen, is it accurate? Learn more
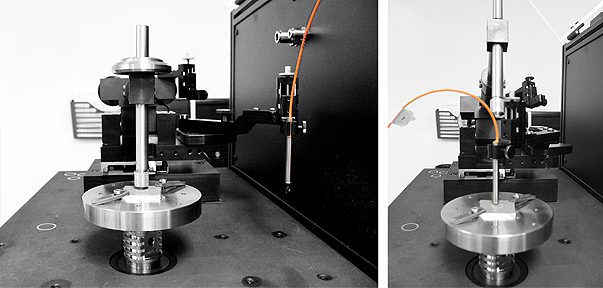
In Situ Measurement Of Wear Rate Evolution
Nanovea has introduced a new highly accurate and cost effective solution to evaluate wear rate in situ on the Tribometer equipped with a 2d Non-Contact Profilometer (ASTM G99 or G133). Wear rate evolution as a function of testing time can now be plotted in record time using a single sample.
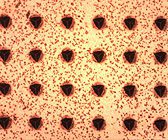
FastMap — High Speed Nanoindentation Mapping
In this application, the Nanovea Mechanical Tester, in FastMap mode is used to map the mechanical property of a circuit board at a high speed. We would like to showcase the capacity of Nanovea Mechanical Tester in performing fast nanoindentation mapping with high precision and reproducibility.
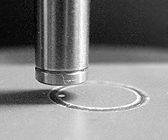
In Situ Non Contact Measurement of Wear Rate Evolution
The wear process of an anodized coating is simulated in a controlled and monitored manner using the Nanovea Tribometer equipped with a non-contact profilometer. We would like to showcase that the Tribometer is an ideal tool for evaluation and quality control of various protective coatings including anodized aluminum.
Here are examples of materials we tested this month:

Mechanical:
• Nano scratch testing of PTFE coated wires
• Nanoindentation of thin gold plated micro features
• Micro scratch of anodized titanium
• Micro wear of anodized titanium

3D Non-Contact Profilometry:
• Flatness of a metal seal
• Dimension of Intraocular lenses
• Volume loss measurement of corroded aluminum
• Topography patterns of non woven fabric

Tribology:
• Characterization of “stick & slip” phenomenon on rubber samples
• Wear testing of DLC coatings
• Friction testing lubrication samples
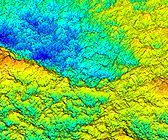
Surface Analysis of Carbon & Zeolite Catalysts Using 3D Profilometry
In this application the Nanovea ST400 Profilometer is used to measure the surface of carbon and zeolite catalysts. The area measured was selected at random, and assumed large enough in that it could be extrapolated to make assumptions about a much larger surface. Surface roughness and developed area will be used to characterize the available surface area.
Surface Analysis of Carbon & Zeolite Catalysts Using 3D Profilometry
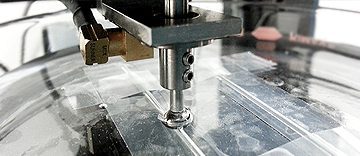
Bio-Tribology of Endocardial Leads in Hanks’ Solution
In this study, we simulated and compared the nan friction and wear behaviors of endocardial pacing leads made of different materials, in Hanks Solution, using the Nanovea Mechanical and Tribometer, respectively.
Nano-Micro Bio-Tribology of Endocardial Leads in Hanks’ Solution
Step Height Measurement of Printed Electrodes
In this application the Nanovea ST400 Profilometer is used to measure printed electrodes on a flexible ceramic sheet. The area measured was large enough that it could be extrapolated to make assumptions about a much larger surface. Height and lateral dimensions will be measured to characterize the rectangular features on these samples.
Step Height Measurement of Printed Electrodes Using 3D Profilometry


