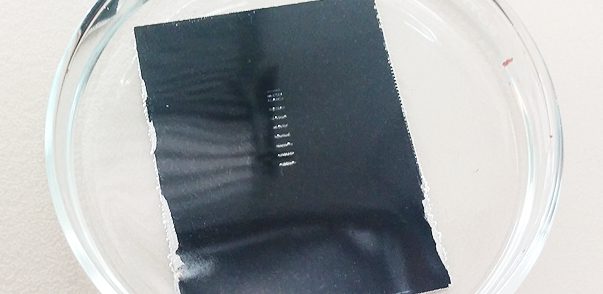
Corrosion Resistance of Coating After Scratch Testing
The corrosion resistant coatings should possess sufficient mechanical strength as they are often exposed to abrasive and erosive application environments. For example, the abrasive oil sands constantly wear away the inside of pipe, which progressively compromise the pipe’s integrity and potentially result in failure. In auto industry, corrosion takes place at the location of scratches on the auto
paint, especially during freezing winter when salts are applied on road. Therefore, a quantitative and reliable tool for measuring the
influence of scratch testing on protective coatings and its corrosion resistance is in need, in order to select the most proper coating for the intended application.

Nanovea Asia Visit 2016
Nanovea has just finished a successful seminar tour throughout Japan and is now currently meeting throughout China. We would like to thank our distributors and existing/potential clients for their time and hospitality.
New Publications Page
OVER 250 RESEARCH ARTICLES USING NANOVEA’S INSTRUMENTS! Nanovea continues to advance measurement and surface research technology. More than 250 research articles featuring Nanovea instruments have been published on peer-reviewed journals.
See the List
Ball Bearing Macro Tribology
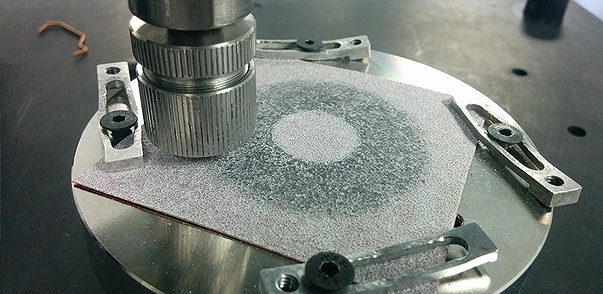
Ball bearings can be made from many different materials, such as metals including stainless steel and chrome steel, and ceramic such as WC and Si3N4. In order to ensure that the manufactured ball bearings possess required wear resistance under the application conditions, reliable tribological evaluation under a high load is in need. It allows us to quantitatively compare the wear behaviors of different ball bearings in a controlled and monitored manner and to select the best candidate for the targeted application. Conventional pin-on-disc tribometers usually have a fixed wear track radius. The ball bearing always slides in the same wear track throughout the wear test. The sandpaper might wear out faster than the ceramic ball bearings with superior wear resistance, which undermines the reproducibility of the wear test on the ball bearings.
Vickers Hardness vs. Instrumented Macroindentation
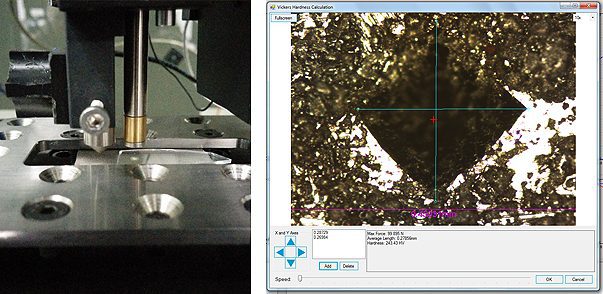
Macroindentation hardness tests are widely used to determine the overall hardness of a material. There are a variety of macrohardness measurements, including but not limited to Vickers hardness test (HV), Brinell hardness test (HB), Knoop hardness test (HK) and Rockwell hardness test (HR). With one of the largest scales among hardness tests, the Vickers test is widely used for measuring the hardness of all metals. Vickers hardness uses a diamond in the form of a square-based pyramid with an angle to the horizontal plane of 22° on each side. It indents on the sample surface and creates a square imprint. By measuring the average length of the diagonal, d, the Vickers hardness can be calculated using the formula: where F is in N and d is in millimeters. Here, accurate measurement of the d value is critical in order to obtain accurate hardness values. In comparison, instrumented indentation technique directly measures the mechanical properties from indentation load & displacement measurements. No visual observation of the indent is required; eliminating user error in determining the d values of the indentation.
Measure Large Surfaces With 3D Profilometry
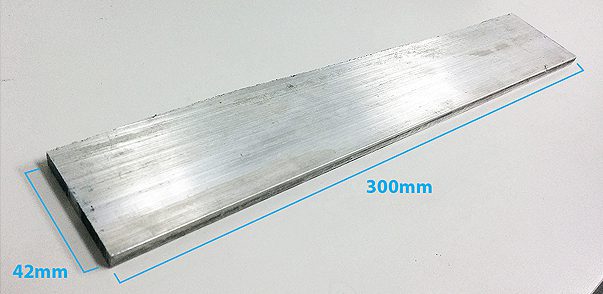
Fabrication shops and machine shops often handle large quantity of metal for fabrication. Therefore, a fast and precise measurement of the 3D surface morphology on a large surface is in need to ensure the narrowest tolerances in quality control. It also makes it possible to implement the Nanovea 3D profilometer in the production/fabrication line to monitor the surface quality of the metal parts in situ. High resolution 3D scan can quickly detect and report any defects such as pits, cracks or extrusions created during the fabrication processes. In addition to metals, virtually any kinds of surfaces fabricated from different materials such as ceramics, plastics and glasses can be measured in a timely fashion by Nanovea 3D noncontact profilometer, making it an ideal tool for surface inspection in manufacture/fabrication lines.

Happy Holidays From The Nanovea Team
Thermomechanical Analysis of Solder Using Nanoindentation
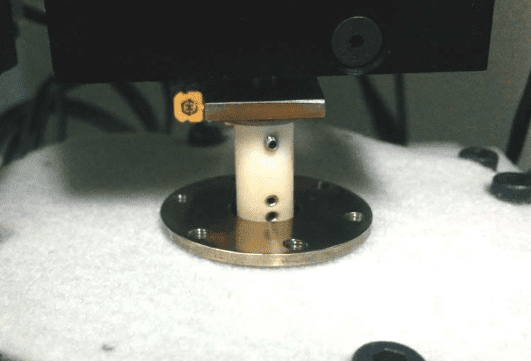
Solder joints are subjected to thermal and/or external stress when the temperature exceeds 0.6 Tm where Tm is the melting point of the material in Kelvin. The creep behavior of solders at elevated temperatures can directly influence the reliability of solder interconnections. As a result, a reliable and quantitative thermomechanical analysis of the solder at different temperatures is in need. The Nano module of the Nanovea Mechanical Tester applies the load by a high-precision piezo and directly measures the evolution of force and displacement. The advanced heating oven provides a uniform temperature at the tip and sample surface, which ensures measuring accuracy and minimizes the influence of thermal drift.
Thermomechanical Analysis of Solder Using Nanoindentation
High Temperature Scratch Hardness Using Tribometer
Materials are selected based on the service requirements. For applications involving significant temperature changes and thermal gradients, it is critical to investigate the mechanical properties of materials at high temperatures to be fully aware of the mechanical limits. Materials, especially polymers, usually soften at high temperatures. A lot of mechanical failures are caused by creep deformation and thermal fatigue taking place only at elevated temperatures. Therefore, a reliable technique for measuring high temperature scratch hardness is in need to ensure proper selection of the materials for high temperature applications.
High Temperature Scratch Hardness Using Tribometer
In Situ Morphology at High Temperature Using 3D Profilometry
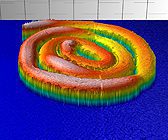
High temperature environment can change the surface texture, roughness and shapes of materials, resulting in device malfunction and mechanical failures. To ensure the quality of materials or devices used at elevated temperatures, accurate and reliable in situ morphology monitoring of the shape evolution at high temperatures is in need to provide insight into the mechanism of material deformation. Moreover, real-time monitoring of surface morphology at high temperatures is very useful in materials processing, such as laser machining. The Nanovea 3D Non-Contact Profilometers measure the surface morphology of materials without touching the sample, avoiding introducing additional scratches or shape alteration which may be caused by contact technologies such as sliding stylus. Its capacity of non-contact measurement also makes it possible to measure the shape of melted samples.


