Category: Application Notes

Surface Roughness Statistical Analysis Using 3D Profilometry
In this application the Nanovea ST400 Profilometer is used to measure over 30 coupons with similar surface features with only slight differences. The surfaces were analyzed for parameters such as surface roughness, maximum height, maximum peak height and root mean square. A statistical analysis was then performed using histograms, tables, control charts, box plots and
scatter plots.
Surface Roughness Statistical Analysis Using 3D Profilometry
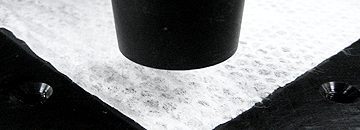
Fabric Surface Area Measurement Using 3D Profilometry
In this application the Nanovea ST400 Profilometer was used for surface area measurement of a fabric surface to determine amount of projected and developed surface areas as well as a contour analysis of the texture on the surface.

Surface Wear Subtraction Using 3D Profilometry
In this application the Nanovea ST400 Profilometer is used to measure the surface wear of a golf ball before and after wearing of the surface with sandpaper. The two profile measurements were then combined through software surface subtraction to analyze wear volume loss. This feature is ideal for applications such as but not limited to: wear, corrosion and lubrication failure.
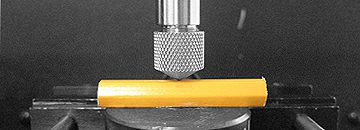
Wood Coatings Wear Resistance using Tribometer
In this application, the Nanovea Tribometer is used to measure the wear resistance of a coated wood pencil. The linear wear test (ASTM G133) was used with a 3mm stainless steal ball tip; many other tips could have been used. The 1st test was performed for 4 hours and then a 2nd test was performed for 1.5 hours. After wear testing the 3D Profilometer integrated on the Tribometer was used to profile the wear track.
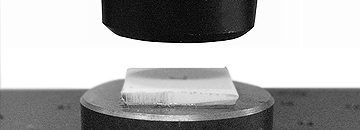
Micro Scratch Depth Measurement Using 3D Profilometry
In this application the Nanovea ST400 Profilometer is used for depth measurement of a row of micro scratches created using Nanovea’s Mechanical Tester in scratch mode. In seconds the Profilometer, with a single line pass in 2D mode, provides area and depth measurement.

Mechanical Characterization of Organic & Non Organic Shell
In this application, the Nanovea Mechanical Tester, in Nanoindentation mode, is used to study the mechanical characterization of an organic and a non-organic egg shell. The most critical aspect with Nanoidentation testing is securing the sample, here we took pieces of each sample and epoxy mounted leaving the edges exposed for testing.
Fracture Resistance of Silicon With Nano Scratch Testing
In this application, the Nanovea Mechanical Tester, in nano scratch testing mode, is used to measure the fracture resistance of a 170μm thick silicon sample. We must simulate the process of scratching in a controlled and monitored manner to observe sample behavior effects. A 2μm diamond tipped stylus is used at a progressive load ranging from 0.5 mN to 400 mN to scratch the silicon surface. Points of failure will be reviewed.
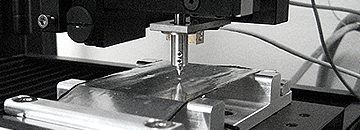
Nano Puncture Resistance Using Nanoindentation
In this application, the Nanovea Mechanical Tester, in Nanoindentation mode is used to study the puncture resistance of an aluminum foil sample using a cylindrical flat tip indenter. A custom sample holder was designed to secure thin film and foil samples.
Tablet Coating Failure With Micro Scratch Testing
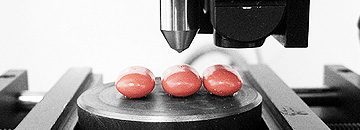
In this application, the Nanovea Mechanical Tester, in its micro scratch mode, is used to measure the load required to cause the failure to a generic and brand tablet coating. We must simulate the process of scratching in a controlled and monitored manner to observe sample behavior effects. A 20μm diamond tipped stylus is used at a progressive load ranging from 4 N to 8 N to scratch the tablet coating. The point where the coating fails by cracking is taken as the point of failure. Hardness and elastic modulus will also be evaluated in nanoindentation mode.

Roughness Measurement of Pill Using 3D Profilometry
In this application, the ST400 Profilometer is used to measure and compare surface roughness measurement values of different types of tablets. Excedrin, Advil, and generic forms of Excedrin and Advil, distributed by SUPERVALU Inc., are the tablets measured in this application. Comparisons can be made between generic and name brand tablet surface roughness, between coated and uncoated tablet surface roughness, and also among the same type of tablet to check the variations in surface roughness, mainly through the standard deviation.


