USA/GLOBAL: +1-949-461-9292
EUROPE: +39-011-3052-794
CONTACT US

Fractography Analysis Using 3D Profilometry

FRACTOGRAPHY ANALYSIS

USING 3D PROFILOMETRY

Prepared by

CRAIG LEISING

INTRODUCTION

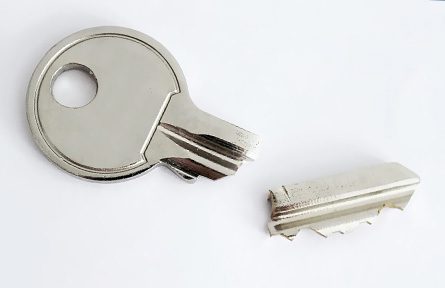
Fractography is the study of features on fractured surfaces and has historically been investigated via Microscope or SEM. Depending on the size of the feature, a microscope (macro features) or SEM (nano and micro features) are selected for the surface analysis. Both ultimately allowing for the identification of the fracture mechanism type. Although effective, the Microscope has clear limitations and the SEM in most cases, other than atomic-level analysis, is unpractical for fracture surface measurement and lacks broader use capability. With advances in optical measurement technology, the NANOVEA 3D Non-Contact Profilometer is now considered the instrument of choice, with its ability to provide nano through macro-scale 2D & 3D surface measurements

IMPORTANCE OF 3D NON-CONTACT PROFILOMETER FOR FRACTURE INSPECTION

Unlike an SEM, a 3D Non-Contact Profilometer can measure nearly any surface, sample size, with minimal sample prep, all while offering superior vertical/horizontal dimensions to that of an SEM. With a profiler, nano through macro range features are captured in a single measurement with zero influence from sample reflectivity. Easily measure any material: transparent, opaque, specular, diffusive, polished, rough etc. The 3D Non-Contact Profilometer provides broad and user-friendly capability to maximize surface fracture studies at a fraction of the cost of an SEM.
MEASUREMENT OBJECTIVE

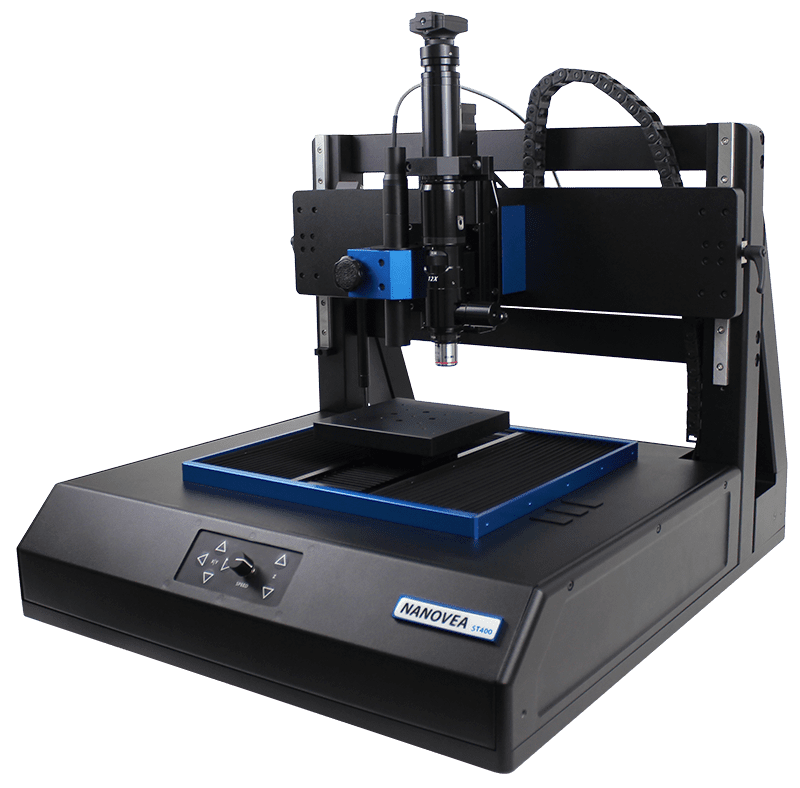
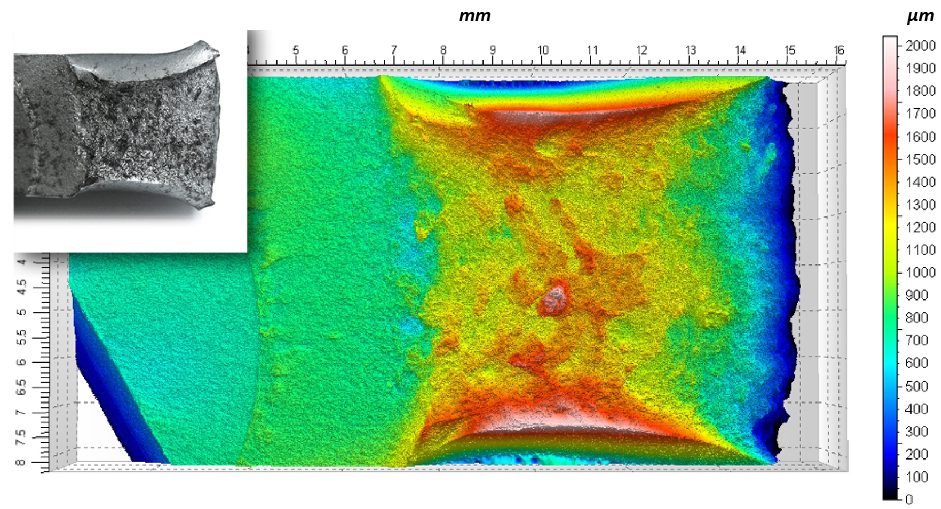
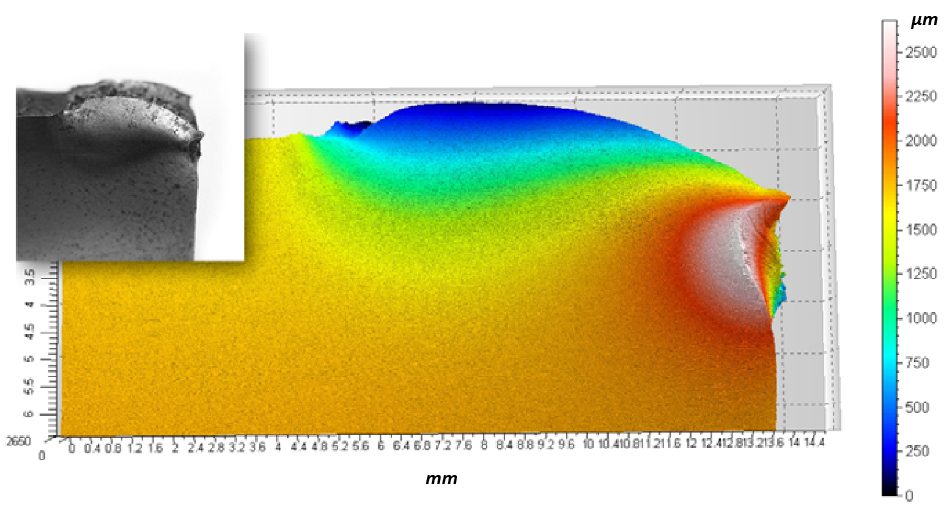
In this application, the NANOVEA ST400 is used to measure the fractured surface of a steel sample. In this study, we will showcase a 3D area, 2D profile extraction and surface directional map of the surface.

NANOVEA

ST400

RESULTS

TOP SURFACE

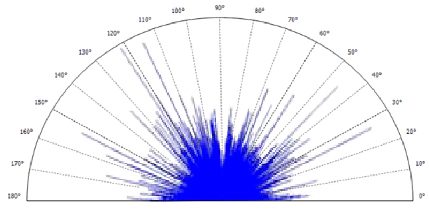
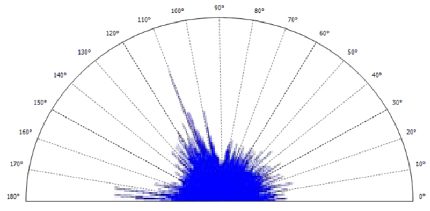
3D Surface Texture Direction

Isotropy51.26%
First Direction123.2º
Second Direction116.3º
Third Direction0.1725º

Surface Area, Volume, Roughness and many others can be automatically calculated from this extraction.

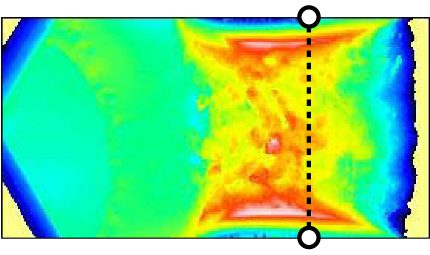
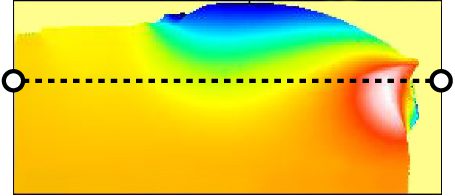
2D Profile Extraction

RESULTS

SIDE SURFACE

3D Surface Texture Direction

Isotropy15.55%
First Direction0.1617º
Second Direction110.5º
Third Direction171.5º

Surface Area, Volume, Roughness and many others can be automatically calculated from this extraction.

2D Profile Extraction

CONCLUSION

In this application, we have shown how the NANOVEA ST400 3D Non-Contact Profilometer can precisely characterize the full topography (nano, micro and macro features) of a fractured surface. From the 3D area, the surface can be clearly identified and subareas or profiles/cross-sections can be quickly extracted and analyzed with an endless list of surface calculations. Sub nanometer surface features can be further analyzed with an integrated AFM module.

Additionally, NANOVEA has included a portable version to their Profilometer line-up, especially critical for field studies where a fracture surface is immovable. With this broad list of surface measurement capabilities, fracture surface analysis has never been easier and more convenient with a single instrument.

NOW, LET'S TALK ABOUT YOUR APPLICATION

Comment