Here are examples of materials we tested this month:

Mechanical:
• Nanoindentation puncture of film
• Nanoindentation compression of micro features
• Nanofriction in liquid of medical lead
• Microindentation hardness testing of rock
• Microscratch of dlc coatings
• Microscratch of commercial coating

3D Non-Contact Profilometry:
• Roughness of micro machined parts
• Texture of fabric
• Finish “Orange Peel” of coatings
• Topography of corroded steel
• Flatness of gold plated wafers

Tribology:
• Wear testing of dlc coatings
• Wear testing ptfe coatings
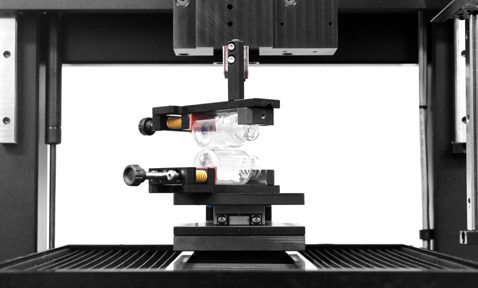
CUSTOM BOTTLE ON BOTTLE FRICTION TEST
This month Nanovea is proud to highlight the endless possible configurations of the Mechanical Tester. Seen above, is a custom glass bottle-on-bottle sample holder for precise load controlled bottle friction test using the Macro Module.
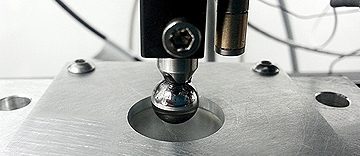
Elastic-Plastic Response of Polymer Coating
In this application, we designed a new testing setup to simulate the repetitive impact on the protective
polymer coating and investigated its elastic-plastic response as a function of time using the Nanovea
Mechanical Tester in Microindentation mode.
Elastic-Plastic Response of Polymer Coating Under Repetitive Impact
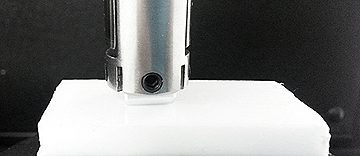
Static Coefficient of Friction Measurement Using Tribometer
In this study, we would like to showcase the capacity of Nanovea Tribometer for measuring the static coefficient of friction. The coefficient of friction of an aluminum block against Glass and Teflon samples was measured and analyzed as examples.
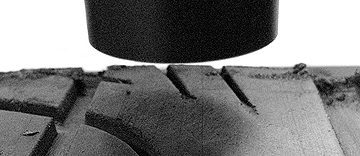
Contour Measurement of Rubber Tread Using 3D Profilometry
In this application the Nanovea ST400 Profilometer is used to measure the surface and treads of a rubber tire. The surface area measured was selected at random, and was large enough that it could be extrapolated to make assumptions about a much larger surface. Contour dimensions, depth, surface roughness, and developed area will be used here to quantify the rubber’s characteristics.
Here are examples of materials we tested this month:

Mechanical:
• Nanoindentation of dma of soft polymer
• Nanoscratch of fused dielectric films
• Nanowear of polymer coatings
• Microindentation of gas nitride steel
• Microscratch of sapphire coatings

3D Non-Contact Profilometry:
• Roughness of machined parts
• Finish of hard dog food biscuits
• Flatness of micro squares
• Profile of biomedical pouch seals
• Dimensions of machined parts
• Wear testing of sapphire coating
• Wear testing of frangible bullets
• Friction testing of hard dog biscuits
Here are examples of materials we tested this month:

Mechanical:
• Nanoindentation of antireflective coatings
• Nanoindentation of biomedical gels
• Nanoscratch of fused silica and silicon
• Nanofriction of micro rubber stoppers
• Microscratch of anodized titanium

3D Non-Contact Profilometry:
• Roughness of thermal coatings
• Finish of hip implant
• Flatness & Planarity of electrical contacts
• Shape and Form of stamped sheet metal patterns
• Dimensions of molded plastic lenses

Tribology:
• Wear testing of tool steel grip pads
• High temperature wear testing of ceramics
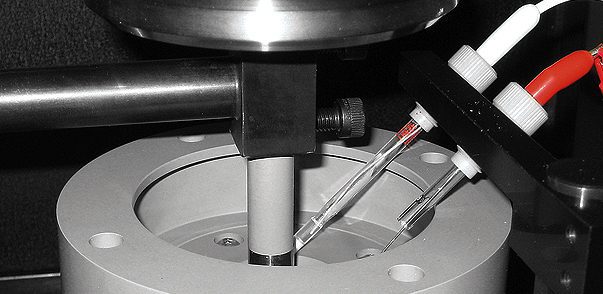
Tribocorrosion Wear Evaluation of Protective Coating
The tribocorrosion process of the DLC coatings on different types of steel substrates is simulated using the Nanovea Tribometer. In this study, we would like to showcase that Nanovea Tribometer equipped with the Tribocorrosion Module is an ideal tool for evaluating the performance of protective coatings used in wear and corrosion environment.
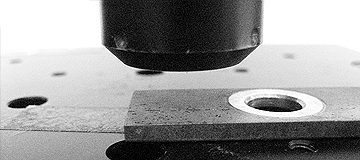
Pitting Corrosion density, area, volume, size and shape
In this application the Nanovea ST400 Profilometer is used to measure the surface of a corrosion pitted stainless steel coupon. The area measured was selected at random, and assumed large enough in that it could be extrapolated to make assumptions
about a much larger surface. Density, area, volume, size and shape will be used here to quantify the level of corrosion.
Here are examples of materials we tested this month:

Mechanical:
• Nanoindentation of wire cross sections
• Nanoindentation of Y2O3 thin films
• Nanoscratch of thin polymer films
• Nanoscratch of catheters
• Microindentation of oil-well cement

3D Non-Contact Profilometry:
• Roughness of catheters
• Finish of processed leather
• Topography of thin film particle contaminants
• Coplanarity of ball grid arrays
• Step height of microchannels
• Stribeck Curve evaluation of various lubrication


