Monthly Archives: January 2016

New Publications Page
OVER 250 RESEARCH ARTICLES USING NANOVEA’S INSTRUMENTS! Nanovea continues to advance measurement and surface research technology. More than 250 research articles featuring Nanovea instruments have been published on peer-reviewed journals.
See the List

Ball Bearing Macro Tribology
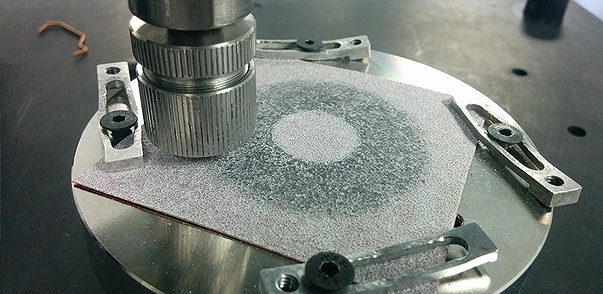
Ball bearings can be made from many different materials, such as metals including stainless steel and chrome steel, and ceramic such as WC and Si3N4. In order to ensure that the manufactured ball bearings possess required wear resistance under the application conditions, reliable tribological evaluation under a high load is in need. It allows us to quantitatively compare the wear behaviors of different ball bearings in a controlled and monitored manner and to select the best candidate for the targeted application. Conventional pin-on-disc tribometers usually have a fixed wear track radius. The ball bearing always slides in the same wear track throughout the wear test. The sandpaper might wear out faster than the ceramic ball bearings with superior wear resistance, which undermines the reproducibility of the wear test on the ball bearings.

Vickers Hardness vs. Instrumented Macroindentation
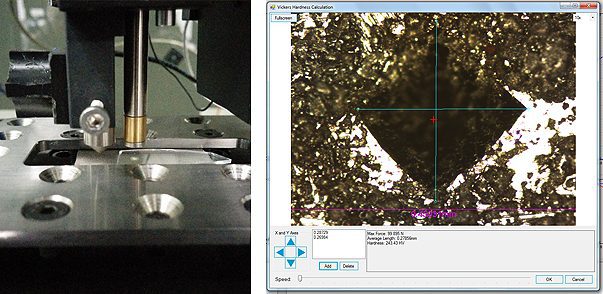
Macroindentation hardness tests are widely used to determine the overall hardness of a material. There are a variety of macrohardness measurements, including but not limited to Vickers hardness test (HV), Brinell hardness test (HB), Knoop hardness test (HK) and Rockwell hardness test (HR). With one of the largest scales among hardness tests, the Vickers test is widely used for measuring the hardness of all metals. Vickers hardness uses a diamond in the form of a square-based pyramid with an angle to the horizontal plane of 22° on each side. It indents on the sample surface and creates a square imprint. By measuring the average length of the diagonal, d, the Vickers hardness can be calculated using the formula: where F is in N and d is in millimeters. Here, accurate measurement of the d value is critical in order to obtain accurate hardness values. In comparison, instrumented indentation technique directly measures the mechanical properties from indentation load & displacement measurements. No visual observation of the indent is required; eliminating user error in determining the d values of the indentation.

Measure Large Surfaces With 3D Profilometry
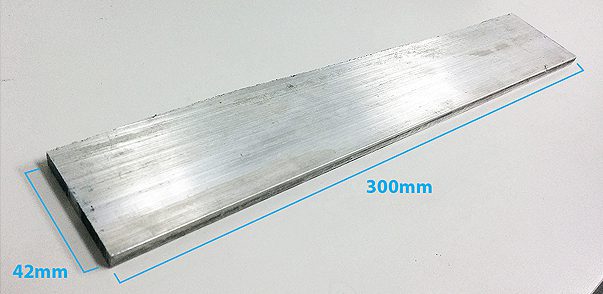
Fabrication shops and machine shops often handle large quantity of metal for fabrication. Therefore, a fast and precise measurement of the 3D surface morphology on a large surface is in need to ensure the narrowest tolerances in quality control. It also makes it possible to implement the Nanovea 3D profilometer in the production/fabrication line to monitor the surface quality of the metal parts in situ. High resolution 3D scan can quickly detect and report any defects such as pits, cracks or extrusions created during the fabrication processes. In addition to metals, virtually any kinds of surfaces fabricated from different materials such as ceramics, plastics and glasses can be measured in a timely fashion by Nanovea 3D noncontact profilometer, making it an ideal tool for surface inspection in manufacture/fabrication lines.


