Monthly Archives: April 2015
Here are examples of materials we tested this month:

Mechanical:
• Nanoindentation of thin, hard oxide coatings
• Nanoindentation & scratch of hard titanium nitride coatings
• Microindentation compression of foams
• Microscratch of thin, hard oxide coating

3D Non-Contact Profilometry:
• Roughness & grain size analysis of dental implant
• Roughness of wood flooring finishes
• Roughness of building drywall
• Coplanarity of pin grid array under elevated temperature

Tribology:
• Wear testing of cryogenically hardened steel
• Friction testing doggie treats
• Tribocorrosion of dlc coatings
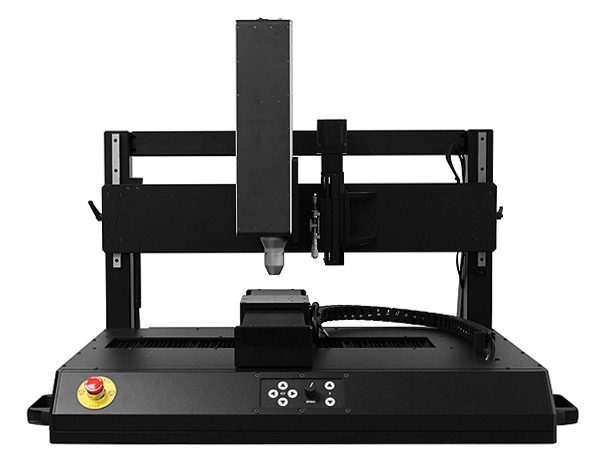
Profilometer For Large Area Measurements

Meet the ST500 Profilometer. After years of success with the ST400 and HS1000 Nanovea introduces the ST500 providing high speed large area measurement without stitching. The ST500 has a 400 mm X-Y Axis Travel, a 50 mm Z Axis with a maximum speed up to 200 mm/s. The system can be equipped with either an optical pen or line scanner for ultra fast measurement (384,000 points per second). Unlike other technologies, each point is a direct, full depth of field during large area measurement without the need of refocusing. A video zoom camera can also be used to provide automatic function to large area measurement complete on a desktop user friendly platform. See app note for example.


