Monthly Archives: November 2014
Here are examples of materials we tested this month:

Mechanical:
• Nanoindentation, scratch & wear of silver and aluminum coatings
• Nanoindentation of polycrystalline diamond
• Nano scratch of polystyrene coatings
• Nano scratch of teflon coated wires
• Macro scratch testing of DLC coatings

3D Non-Contact Profilometry:
• Roughness of polished metal samples
• Texture of bandage fabric
• Dimensions of sphere tips
• Coplanarity of pin grid array
• Flatness of metal parts
• Topography of rock fossil

Tribology:
• Friction testing rubber samples
• Friction testing medical parts
• Wear testing dlc coatings
• Wear metallic coatings
• Stribeck Curve of heated lubrication samples

R&D Recognizes Nanovea’s Measurement Achievement
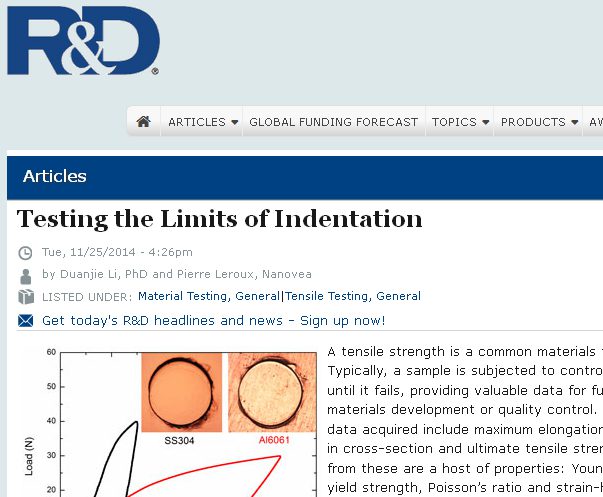
R&D Magazine has recognized Nanovea’s breakthrough method of reliably acquiring both yield strength (YS) and ultimate tensile strength (UTS) measurement through the indentation technique; which has significant advantages when compared to the traditional tensile testing. Read the full article at R&D Magazine

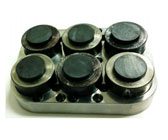
Automated Multi Sample Scratch Testing
In this application, the Nanovea Mechanical Tester is used to evaluate the adhesion of six coated samples
using the multi sample scratch test. We would like to showcase the capacity of Nanovea Mechanical
Tester in performing automated scratch tests on multiple samples with high efficiency and
reproducibility.

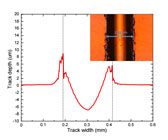
Scratch Hardness Measurement Using Tribometer
In this study, the Nanovea Tribometer is used to measure the scratch hardness of different metals. The
capacity of performing scratch hardness measurement with high precision and reproducibility makes
Nanovea Tribometer a more complete system for tribological and mechanical evaluations.

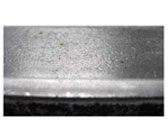
Steel Surface Characterization Using 3D Profilometry
The camera is used initially to stitch an image area, 6mm2, and then visually select an area of interest, 2mm2, for measurement. The Nanovea ST400 Profilometer is then used to create a height map of the surface and the roughness and pitting were studied.


