Monthly Archives: August 2014
Here are examples of materials we tested this month:

Mechanical:
• Nanoindentation of intraocular lens material
• Nanoindentation yield strength of micro samples
• Nano scratch of teflon coated wires
• Microscratch of lithograph samples
• Microscratch of ceramic coatings

3D Non-Contact Profilometry:
• Topography of seeds
• Roughness of led light fixture
• Roughness of laser cut steel
• Roughness of hip implant
• Volume loss of abraded perspex samples

Tribology:
• Stribeck curve testing heated lubrication samples
• Wear testing anodized coatings
• Wear testing dlc coatings

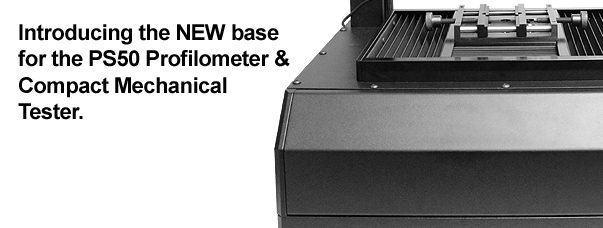
Redesigned Compact Profilometer & Mechanical Tester
The product enhancement, of both the PS50 Profilometer and Compact Mechanical Tester, showcase Nanovea’s dedication to consistent improvement. The two high-end entry level options have been redesigned with new bases to coordinate with Nanovea’s standard. The PS50 Profilometer and Compact Mechanical Tester provide accuracy and capability unmatched in each of their respective class.

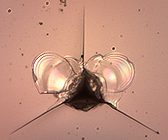
Mechanical Properties of Smartphone Glass
In this study, the Nanovea Mechanical Tester is used to perform a comprehensive study of the tribo-mechanical
properties of a smartphone lens, including the hardness, Young’s modulus and fracture toughness as well as scratch and wear resistance, in order to showcase the versatility and accuracy of the Nanovea Mechanical Tester in glass sample testing.

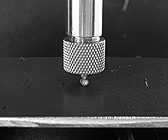
Tribological Properties of PTFE Using Tribometer

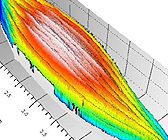
Seed Surface Topography Using 3D Profilometry
In this application the Nanovea ST400 Profilometer is used to measure the surface of a tomato seed and romaine lettuce seed. The entire surface of each seed was scanned with a high resolution. Various analyses will be used to characterize the surfaces
including surface roughness, contour analysis, and texture direction.


