USA/GLOBAL: +1-949-461-9292
EUROPE: +39-011-3052-794
CONTACT US

Fiberglass Surface Topography Using 3D Profilometry

FIBERGLASS SURFACE TOPOGRAPHY

USING 3D PROFILOMETRY

Prepared by

CRAIG LEISING

INTRODUCTION

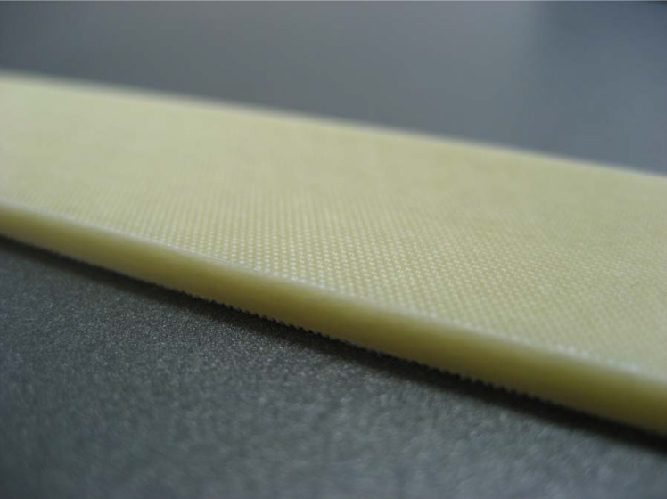
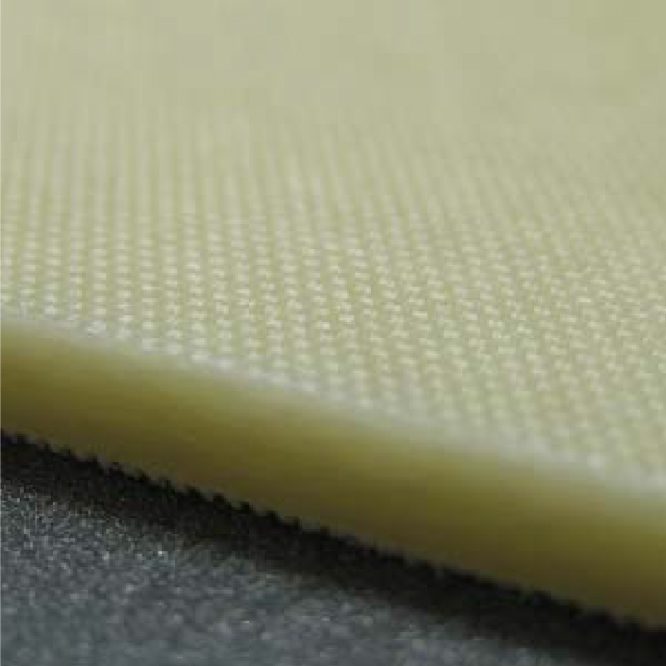
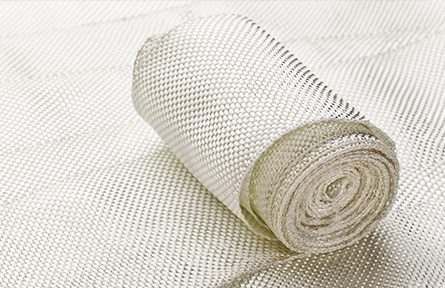
Fiberglass is a material made from extremely fine fibers of glass. It is used as a reinforcing agent for many polymer products; the resulting composite material, properly known as fiber-reinforced polymer (FRP) or glass-reinforced plastic (GRP), is called “fiberglass” in popular usage.

IMPORTANCE OF SURFACE METROLOGY INSPECTION FOR QUALITY CONTROL

Although there are many uses for Fiberglass reinforcement, in most applications it is crucial that they are as strong as possible. Fiberglass composites have one of the highest strength to weight ratios available and in some cases, pound for pound it is stronger than steel. Aside from high strength, it is also important to have the smallest possible exposed surface area. Large fiberglass surfaces can make the structure more vulnerable to chemical attack and possibly material expansion. Therefore, surface inspection is critical to quality control production.
MEASUREMENT OBJECTIVE

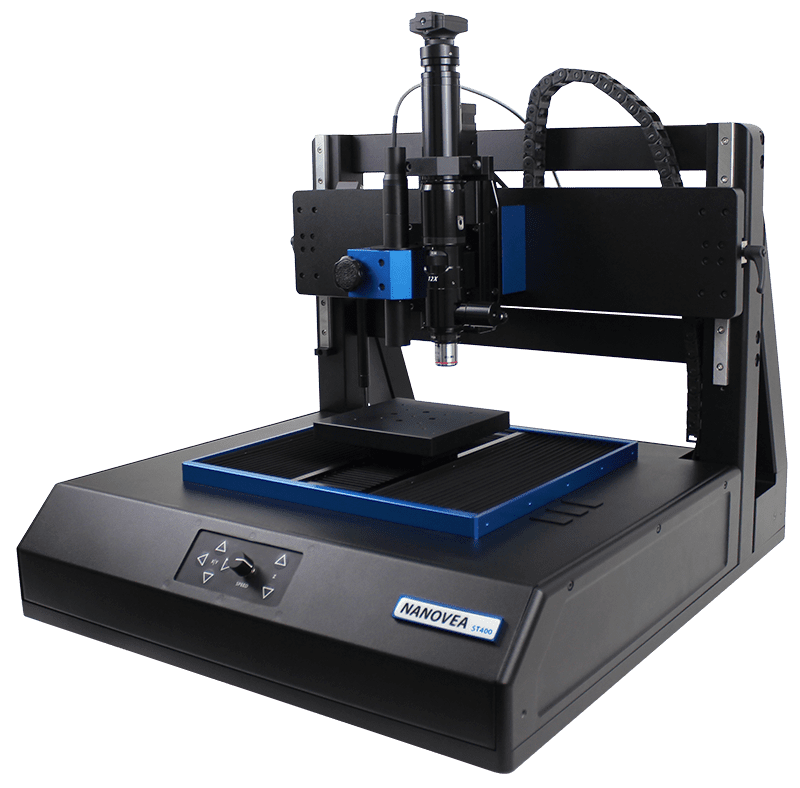
In this application, the NANOVEA ST400 is used to measure a Fiberglass Composite surface for roughness and flatness. By quantifying these surface features it is possible to create or optimize a stronger, longer lasting fiberglass composite material.

NANOVEA

ST400

MEASUREMENT PARAMETERS

PROBE 1 mm
ACQUISITION RATE300 Hz
AVERAGING1
MEASURED SURFACE5 mm x 2 mm
STEP SIZE5 µm x 5 µm
SCANNING MODEConstant speed

PROBE SPECIFICATIONS

MEASUREMENT RANGE1 mm
Z RESOLUTION 25 nm
Z ACCURACY200 nm
LATERAL RESOLUTION 2 μm

RESULTS

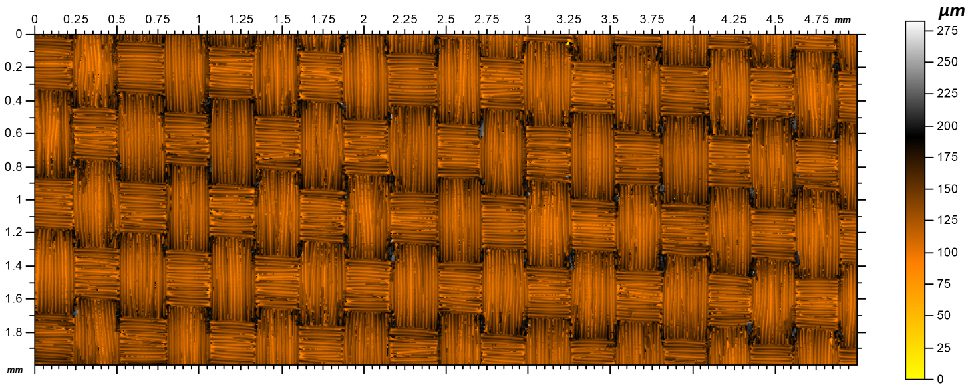
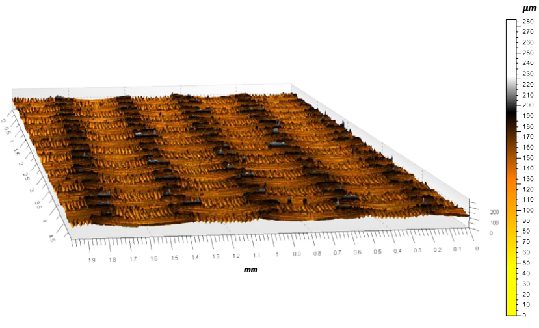
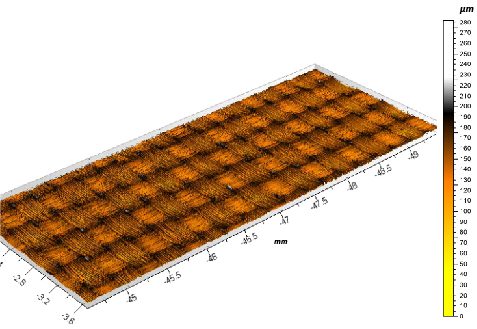
FALSE COLOR VIEW

3D Surface Flatness

3D Surface Roughness

Sa15.716 μmArithmetical Mean Height
Sq19.905 μmRoot Mean Square Height
Sp116.74 μmMaximum Peak Height
Sv136.09 μmMaximum Pit Height
Sz252.83 μmMaximum Height
Ssk0.556Skewness
Ssu3.654Kurtosis

CONCLUSION

As shown in the results, the NANOVEA ST400 Optical Profiler was able to accurately measure the roughness and flatness of the fiberglass composite surface. Data can be measured over multiple batches of fiber composites and or a given time period to provide crucial information about different fiberglass manufacturing processes and how they react over time. Thus, the ST400 is a viable option for strengthening the quality control process of fiberglass composite materials.

NOW, LET'S TALK ABOUT YOUR APPLICATION

Comment