Monthly Archives: September 2014

Breakthrough Measurement Proven on Steel & Aluminum
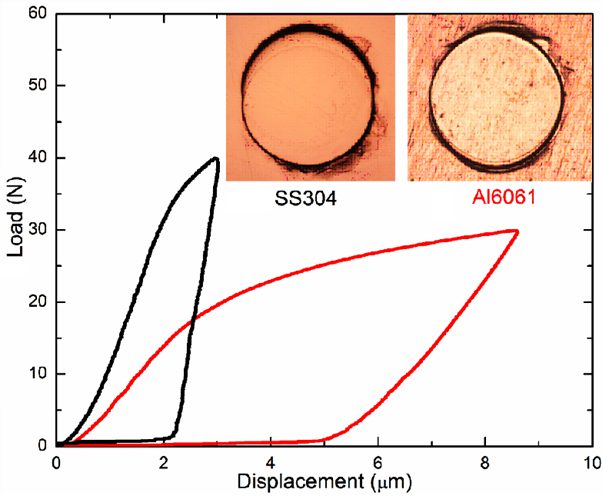
For the first time, Nanovea has developed a breakthrough method of reliably acquiring both yield strength (YS) and ultimate tensile strength (UTS) through the indentation technique; which has significant advantages when compared to the traditional tensile testing. Learn more in this months updated application note.

Using Acoustic Emission (AE) During Wear Testing
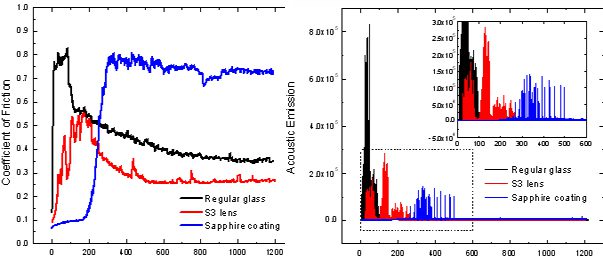
During Tribometer wear testing, the constant rubbing process of the counterface against the test sample creates a series of events, such as deformation, cracking, abrasion, phase transformation and material removal. These rapid stress-releasing events are the sources of AE. A quantifiable and reliable measurement of AE can provide more insight in the wear failure mechanism. Learn more in this months application note.

Wear Testing Glass With Acoustic Emissions Monitoring
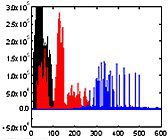
The wear behavior of three types of glass (Regular glass, Galaxy S3 glass and Sapphire coated glass) is compared in a controlled and monitored manner using the Nanovea Tribometer equipped with an AE detector. In this study, we would like to show the application of AE detection during wear and its correlation with the evolution of coefficient of friction (COF).
Here are examples of materials we tested this month:

Mechanical:
• Nanoindentation of micro copper wire
• Nanoindentation of metallic coatings on plastic
• Nanoindentation compression of particles
• Microindentation mapping of dental implant
• Scratch Hardness of electronic covers

3D Non-Contact Profilometry:
• Topography of archaeology artifact
• Roughness of polyurethane
• Dimensions sharp edges
• Coplanarity of electronics
• Thickness of coatings
• Volume & Area of corrosion

Tribology:
• Friction Testing reinforced polyurethane belting
• Friction testing polymer on polymer
• Wear testing hard polymers
• Wear testing treated steel


