Blog Archives

Vickers Hardness vs. Instrumented Macroindentation
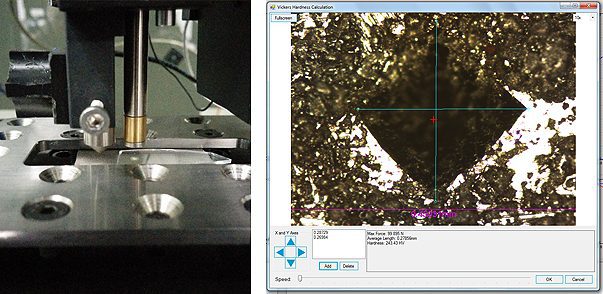
Macroindentation hardness tests are widely used to determine the overall hardness of a material. There are a variety of macrohardness measurements, including but not limited to Vickers hardness test (HV), Brinell hardness test (HB), Knoop hardness test (HK) and Rockwell hardness test (HR). With one of the largest scales among hardness tests, the Vickers test is widely used for measuring the hardness of all metals. Vickers hardness uses a diamond in the form of a square-based pyramid with an angle to the horizontal plane of 22° on each side. It indents on the sample surface and creates a square imprint. By measuring the average length of the diagonal, d, the Vickers hardness can be calculated using the formula: where F is in N and d is in millimeters. Here, accurate measurement of the d value is critical in order to obtain accurate hardness values. In comparison, instrumented indentation technique directly measures the mechanical properties from indentation load & displacement measurements. No visual observation of the indent is required; eliminating user error in determining the d values of the indentation.


