Monthly Archives: June 2014
Here are examples of materials we tested this month:

Mechanical:
• High Temp Nanoindentation of ptfe coatings
• Nanoindentation of Al2O2 coating on silicon substrate
• Nano scratch of sapphire coatings
• Nanoindentation yield strength of pipe samples

3D Non-Contact Profilometry:
• Topography of porous polymer foam structure
• Topography of steel fracture sample
• Roughness of pharmaceutical tablets
• Volume & Depth of pcb holes
• Coplanarity of micro features

Tribology:
• Wear testing of simulated silicate rock samples
• Wear testing of dlc coatings
• Wear Testing spray coatings
• Wear & Friction Testing lubricated composite samples

Rotative and Linear Wear Comparative Study
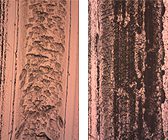
The wear rate of an acrylic plate is measured in a controlled and monitored manner using linear and rotative wear test setups on the Nanovea Tribometer for comparison. In this study we would like to showcase the versatility of the Nanovea Tribometer in measuring wear rate using multiple setups.

Tooth Wear Measurement Using 3D Profilometry
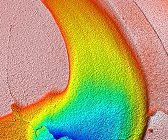
In this application the Nanovea ST400 Profilometer is used to measure the surface of a tooth sample mounted in epoxy that has been put through a chewing simulator. The area measured was the resulting wear and the surrounding surface area. The
maximum width, depth, perimeter, surface area, and volume lost will be used to characterize the wear track.


