MICRO WEAR | FRICTION TESTING
Mechanical Testers | Lab Services | Nano Module | Micro Module | Application Notes
Micro Wear Process:
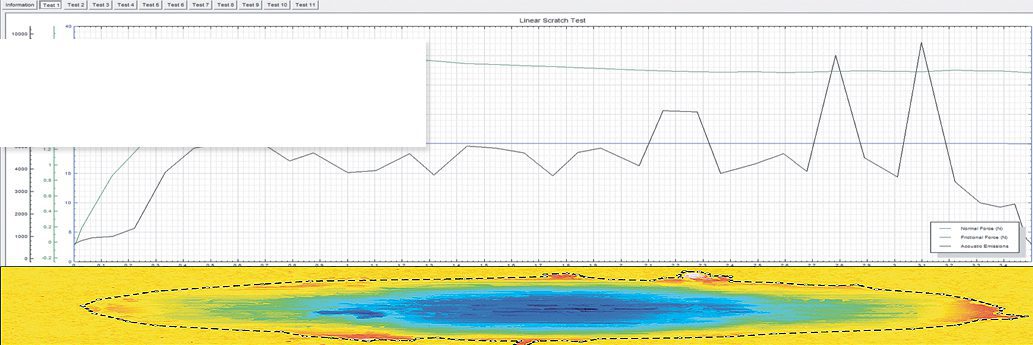
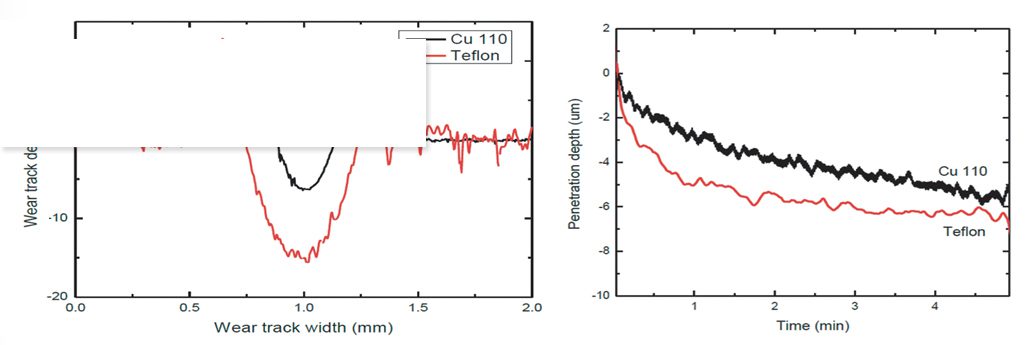
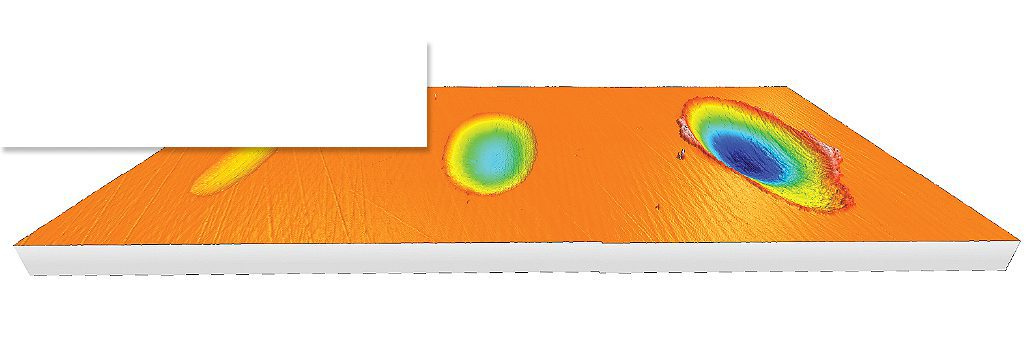
During Micro Wear Testing a pin or a ball is loaded onto a test sample with a stable weight with feedback control. This ensures high accuracy and precise wear rate data. Wear rates for the pin and the sample can also be calculated from the volume of material lost measured with an attached AFM or an Optical Profilometer. Linear mode with friction measurement is possible with the standard x-y motorized table while the rotative test require the rotation table upgrade. The Micro module can also be used to measure friction coefficient in higher load ranges.
Standards:
- ASTM G 133
Properties Analyzed During Micro Wear:
- Wear Rates
- Friction Coefficient
- Fretting Wear
Micro Wear Software Features:
- Recipes
- Export Raw Data and Images
- Real Time Display
- Automatic Reporting
- Multi-Language Support
Advanced Micro Wear Automation:
- Broadview Map Selection Tool: Advanced Mapping on stitched image
- Automated multi-sample testing (handles height variance of up to 50mm)
- Navigation Plus: User Friendly surface navigation imaging
- Quick Approach, Auto Surface Detection and Auto Analysis
- Direct Easy Calibration Tools for Load & Depth
- Savable recipes of all macros programmed
Indenters: (Diamond, WC and many other materials)
- Conical-Spherical
- Vickers
- Knife
- 1 to 6mm balls
Environmental Conditions & Sample(s) Holders:
- 275°C & 450 °C Oven
- Down to -10°C Cooling Chamber
- Humidity Chamber
- Liquid Cups
- Custom Sample & Indenter Holders
Additional Micro Module Modes:


