LINEAR WEAR FRICTION INTRO
Tribometer Instruments | Lab Services | Rotative | Application Notes
Linear Wear Friction Process:
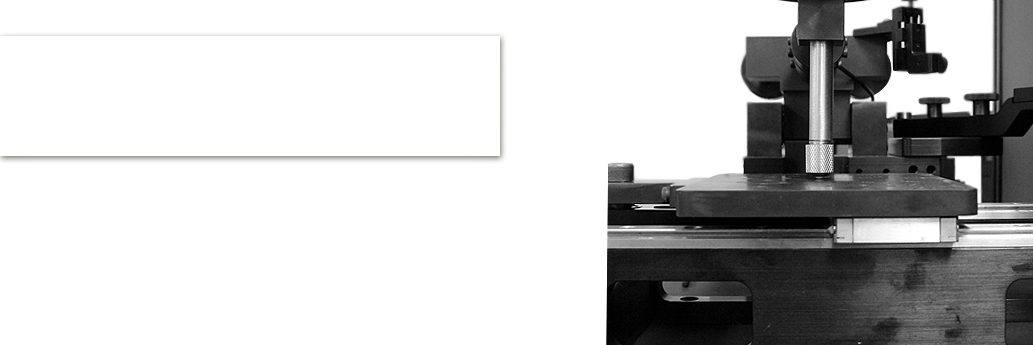
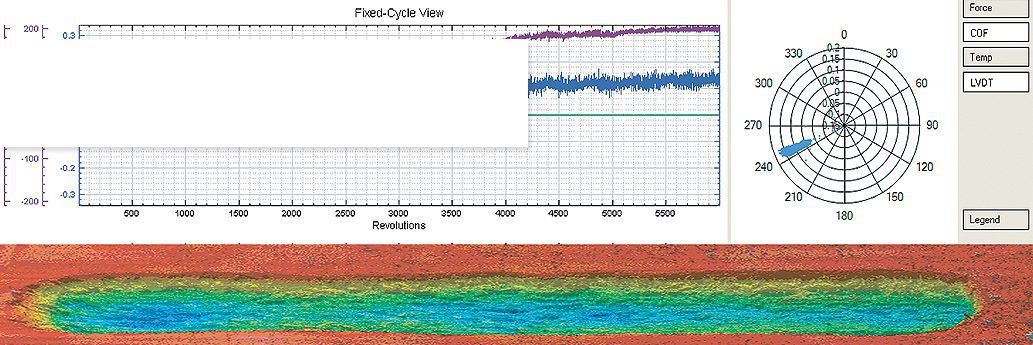
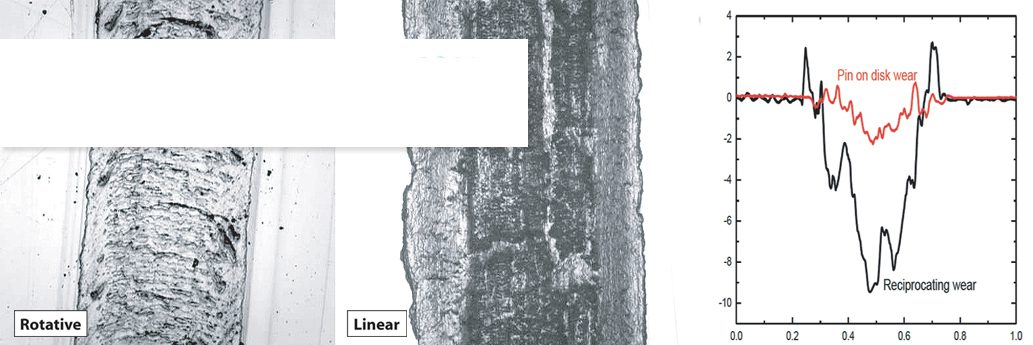
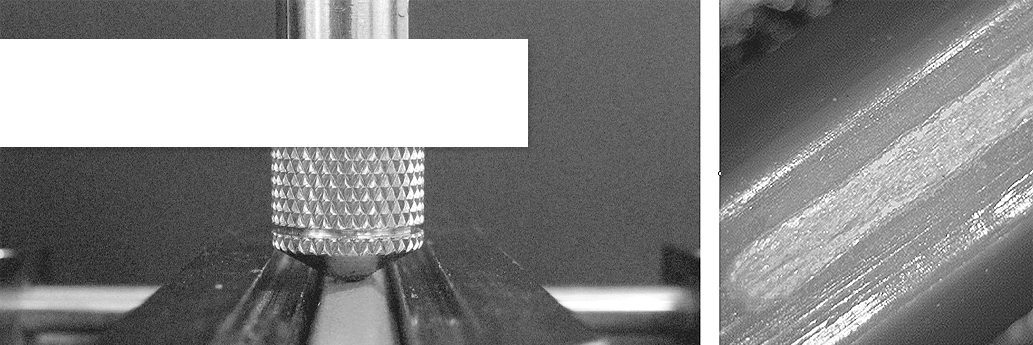
Linear wear friction test reproduces the linear reciprocating motion found in many real-world tribology mechanisms. A flat, pin or ball tip is loaded onto a test sample with a precise weight. The test samples can be of varied shape (such as cylindrical) as long as there is a flat zone of a certain length in the direction of movement. The length of the track can be adjusted prior to the start of measurement. As the test starts, the tip creates a linear wear track (zigzag pattern also possible). Friction coefficient is accurately measured during the test by the deflection of, the easy and quick to calibrate, load cell. Friction forces are recorded for both forward and backward movements of the stroke. The velocity of movement follows a sine wave with maximum speed in the middle of the track. Friction therefore will vary at each position across the track according to the velocity and direction of movement. Because of the integrated 16bit external position encoder, friction can be displayed for any specific point for each pass. This is essential to accurately study the trend of friction across the full length of the test. Wear rates for the tip and the sample are calculated from the volume of material lost.
Standards:
• ASTM G133
• ASTM G171
• ASTM F732
Properties Analyzed During Linear Wear Friction Test:
• Friction Coefficient
• Wear Rates
• Failure Points
• Electrical Resistance
• Lubrication & Corrosion Studies
• Friction vs Speed
• Scratch Hardness and many others
Linear Wear Friction Test Software Features:
• Export Raw Data and Images
• Real Time Display
• Automatic Reporting
• Multi-Language Support
• Macros with variation of speed
• Fixed Cycle View
• Cycle Compare View
• Scratch Hardness Calculation
• Automatic Wear Calculation
• Variable Speed Control
• 3D or 2D In-situ Wear Analysis and many others
Tips: (Diamond, WC, Rubber and many other materials):
• 3, 6, 10 and 25mm ball
• Custom ball sizes
• Custom Pins
• Flat Plate
• Custom geometries
Environmental Conditions:
• 450°C Heating Oven
• Liquid Cup and Liquid Heating up to 150 °C
• Lubrication Drop by Drop
• Humidity Control
• Cooling Chamber -40 °C
• Corrosion Testing Cup
• Various Gases
• Vacuum
Sample(s) Holders:
• Standard Clamp
• Clip Mounting on Base Plate
• Other Sample Holders available for varied geometries
Linear Testing Modes:
Temperature Tribology Testing
Liquid Tribology Testing
Corrosion Tribology Testing


