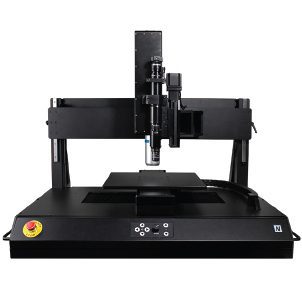
Chromatic Confocal Technology
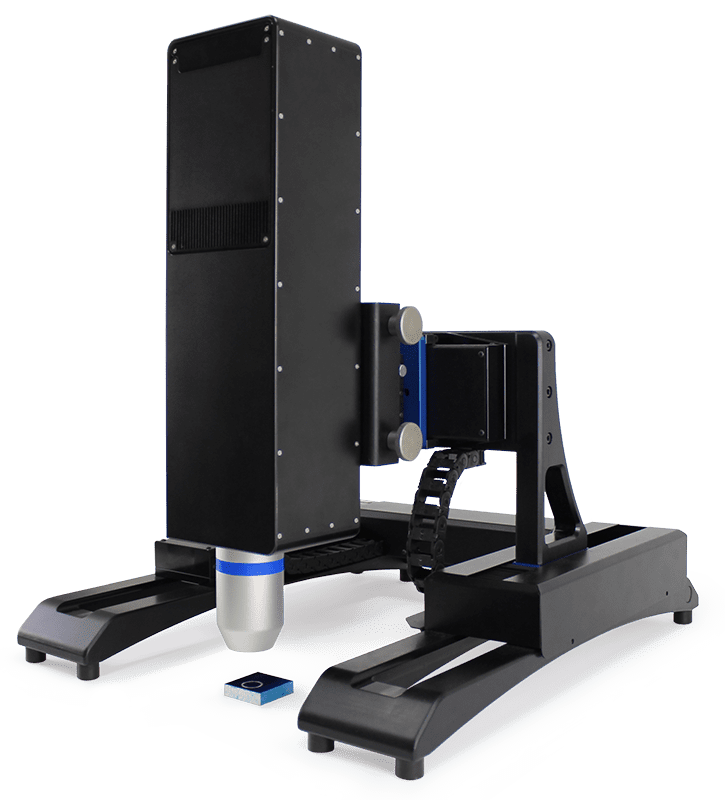
Chromatic Confocal Technology, used in NANOVEA Profilometers, operates via a process that utilizes white light and a series of sphero-chromatic lenses. The sphero-chromatic lenses split the white light into individual wavelengths with unique vertical focal points (vertical distance from surface or height). All wavelengths and their corresponding heights make up the height range measurement scale of a sensor.

The wavelength with the highest intensity will be detected by the spectrometer which processes the wavelength’s associated height. During a full raster scan, this process takes a fraction of a second and produces an accurate height map of the surface of interest.

NO COMPLEX ALGORITHMS
NO LEVELING REQUIRED
NO X-Y DATA STITCHING

Best for steep angles
No Image Stitching
No Image Stitching
Fast for large areas
No Sample Prep
Very easy to use
No Refocusing
Lateral Resolution vs Lateral Accuracy
Camera Pixel Size or Display Resolution is often defined as lateral resolution to impress clients.
Instruments that use camera pixel-based technology require complex algorithms to determine the focal point of the instrument which is problematic for complex surfaces.

NANOVEA’s Chromatic Confocal Technology on the other hand provides lateral accuracy which is determined by physics and is directly related to the spot size of the chromatic light source of the optical sensor.
OTHERS
NANOVEA
LASER SCANNING CONFOCAL MICROSCOPE
VS
CHROMATIC LIGHT OPTICAL SENSOR

Health Hazard
Exposure to laser light reflectivity
Safe White Light
No need for protective wear
INCONSISTENT LASER LIGHT WAVELENGTH
Inconsistencies in wavelength during scanning affect accuracy of results
UNIFORM & BROAD WHITE LIGHT SPECTRUM
Changes in wavelength are the data being collected
DECEPTIVE ‘DISPLAY RESOLUTION’
Lateral & height accuracy are fixed by the objective lens making ‘Display Resolution’ insignificant
INDEPENDENT LATERAL & HEIGHT ACCURACY
Lateral & height accuracy can be mixed and matched to meet a broad range of scanning requirements
COMPLEX ALGORITHMS
Alpha blending algorithms stitch collected data layer by layer, grounding accuracy on complex calculations
NO ALGORITHMS
Physical wavelength reflected from the surface is measured directly for an accurate representative height map
STITCHING REQUIRED
Objective lenses have limited fixed fields of view. Stitching of larger areas compromises accuracy of the scan
NO STITCHING
Data points are collected continuously providing the same level of accuracy for both small and large areas
50x SLOWER
Data acquisition speed up to 7.9 KHz
50x FASTER
Data acquisition speed up to 384 KHz
Let’s Scan A Coin

Lateral Accuracy
OTHERS
NANOVEA
50x OBJECTIVE
VS
HIGH SPEED SENSOR (950 μm)
For 50x objective (370 x 277 µm)
±2% of measuring value
±2% x 370 µm
≈ 15 µm
with stitching algorithms >> 15 µm
Step size:
≈ 5 µm
ULTIMATE LIMIT: 0.9 µm
3x BETTER LATERAL ACCURACY

Height Accuracy
OTHERS
NANOVEA
50x OBJECTIVE
VS
HIGH SPEED SENSOR (950 μm)
≈ 0.2 + L/100 µm
≈ 0.2 + 950/100 µm
≈ 9.7 µm
950 µm range
≈ 0.6 µm
ULTIMATE LIMIT: 0.014 µm
16x BETTER HEIGHT ACCURACY

Area Tested
OTHERS
NANOVEA
50x OBJECTIVE
VS
HIGH SPEED SENSOR (950 μm)
Stitching Required
# scans (25 x 25 mm)
25 000 µm / 370 µm x 25 000 µm / 277 µm
68 x 91
= 6188 scans
No Stitching
Consistent accuracy across any measurement size
1 SCAN

Test Time
OTHERS
NANOVEA
50x OBJECTIVE
VS
HIGH SPEED SENSOR (950 μm)
6 sec per scan
+ 4 sec displacement & stitching
= 10 sec/scan x 6188 scans
= 61880 seconds (≈ 17 hours)
Scan time (25 x 25 mm)
= 29.6 seconds
2090x FASTER
