Linear Module
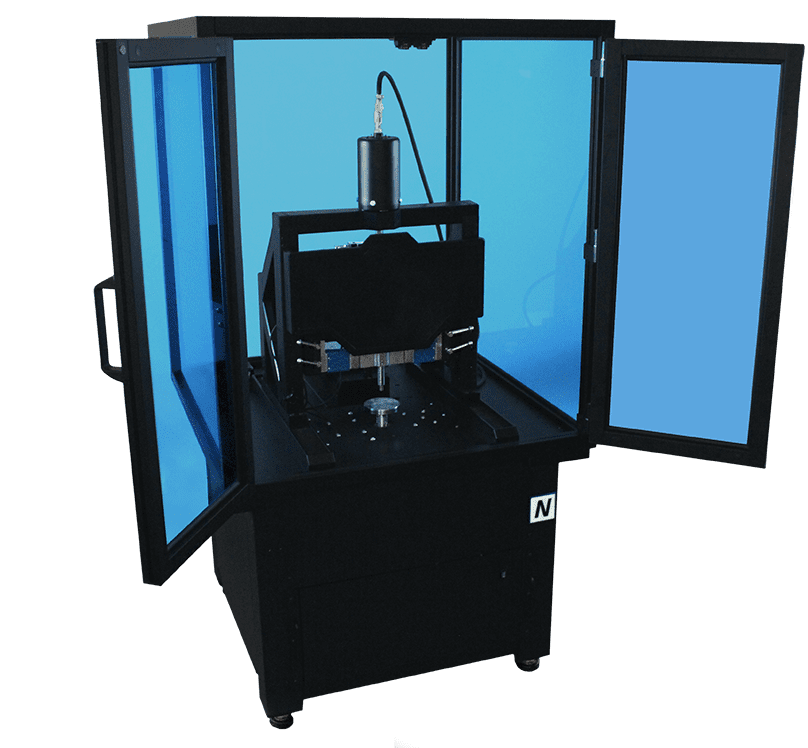
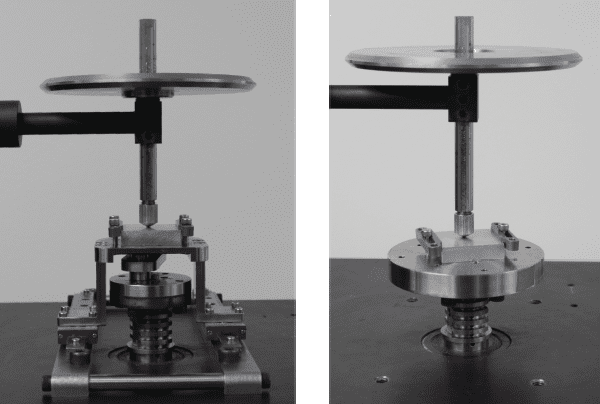
Linear Wear Friction Test reproduces the linear reciprocating motion found in many real-world tribology mechanisms.
How does it work?

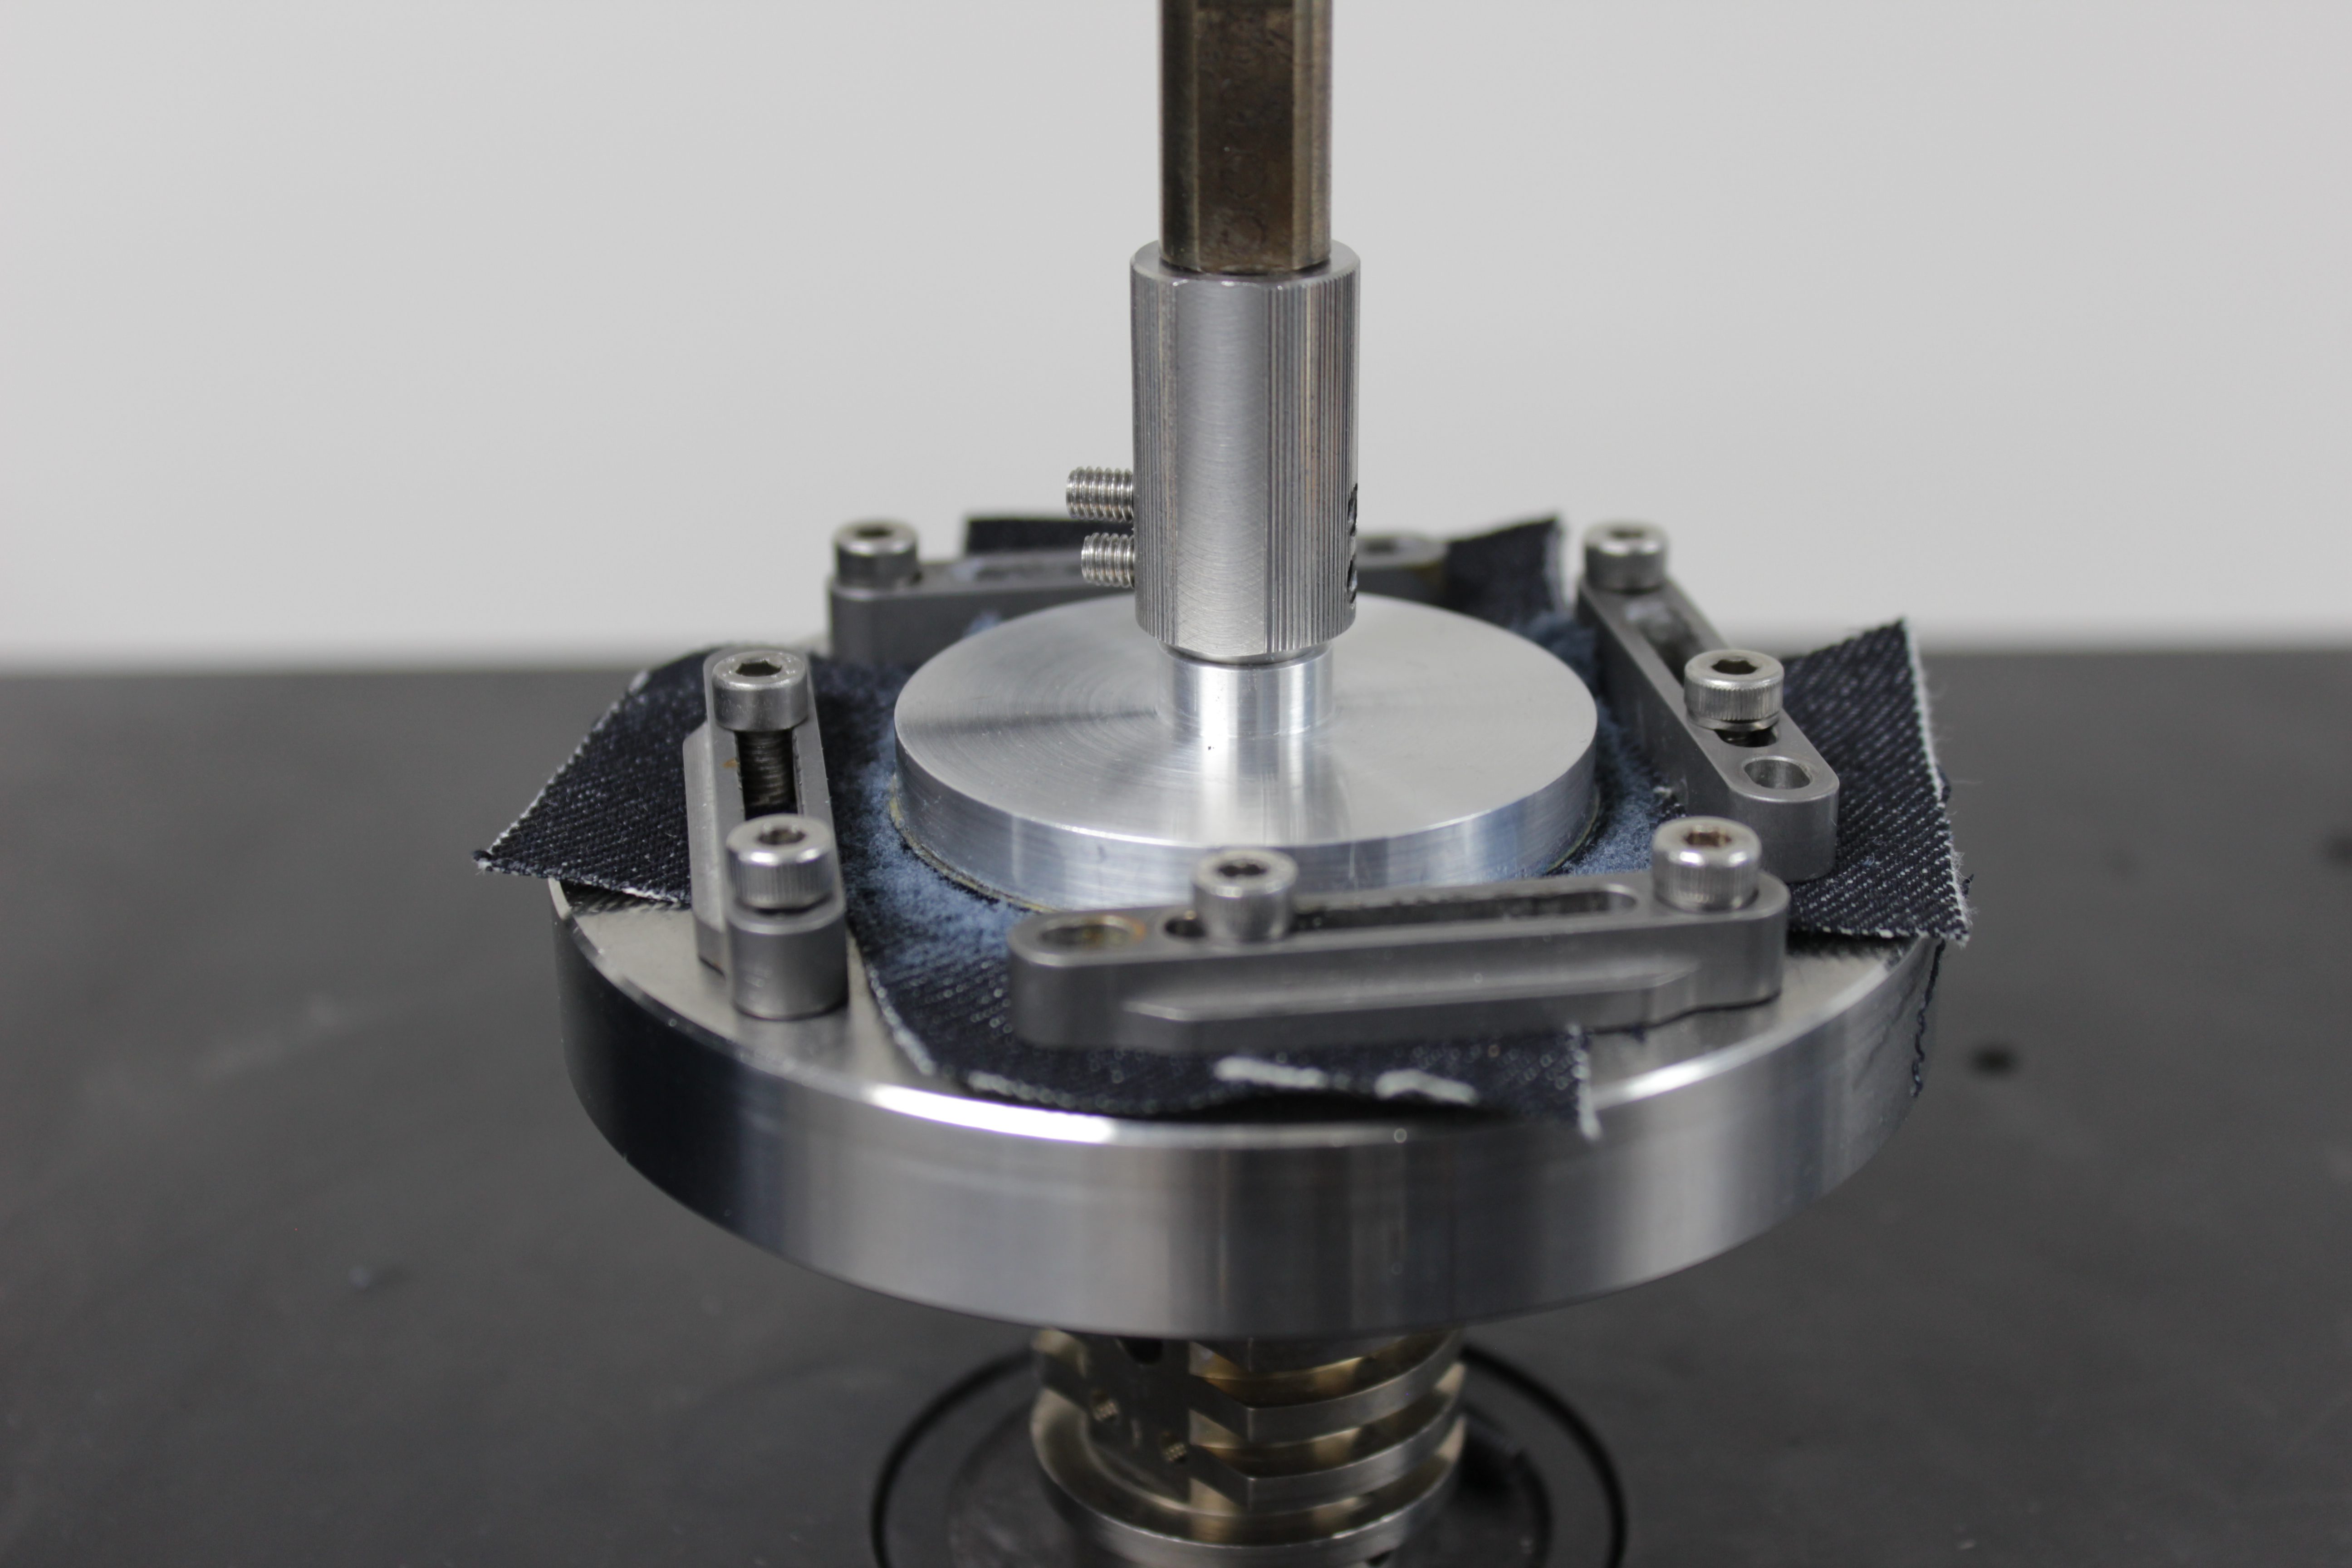
A at, pin or ball tip is loaded onto a test sample with a precise weight.
The test samples can be of varied shape (such as cylindrical)
as long as there is a at zone of a certain length in the direction of
movement. The length of the track can be adjusted prior to starting
the measurement.
As the test starts, the tip creates a linear wear
track (zigzag pattern also possible). Because of the integrated 16bit
external position encoder, friction can be displayed for any specific
point for each pass.
This is essential to accurately study the trend of friction across the full length of the test.
Extreme Versatility
STANDARDS
- ASTM G133
- ASTM G171
- ASTM F732
- ASTM D1894
- ASTM G132
* Instrument parameter limits may differ
from those specified within the standard.
Properties Analyzed
- Friction Coefficient
- Wear Rates
- Failure Points
- Electrical Resistance
- Lubrication & Corrosion Studies
- Friction vs Speed
- Scratch Hardness
- Friction versus Load
SENSORS
- Depth
- Acoustic Emission
- Electrical Resistance
Rotating Lower Sample
- Samples with flat surface for the test
- Cylindrical Samples
- Any types of materials
Fixed Upper Sample
- 3, 6, 10 and 25mm ball
- Custom ball sizes
- Custom Pins
- Flat Plate
- Custom geometries
- Diamond, WC, Rubber and
many other materials
Environmental Conditions
- 900°C Heating Oven
- Liquid Cup and Liquid Heating up to 150 °C
- Lubrication Drop by Drop
- Humidity Control
- Cooling Chamber -40 °C
- Corrosion Testing Cup
- Various Gases
- Vacuum (Custom)


