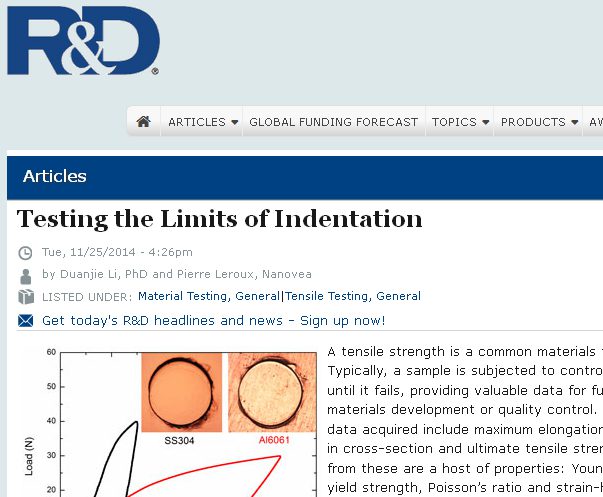
R&D Recognizes Nanovea’s Measurement Achievement
R&D Magazine has recognized Nanovea’s breakthrough method of reliably acquiring both yield strength (YS) and ultimate tensile strength (UTS) measurement through the indentation technique; which has significant advantages when compared to the traditional tensile testing. Read the full article at R&D Magazine
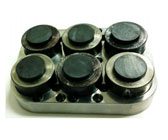
Automated Multi Sample Scratch Testing
In this application, the Nanovea Mechanical Tester is used to evaluate the adhesion of six coated samples
using the multi sample prueba de resistencia al rayado. We would like to showcase the capacity of Nanovea Mechanical
Tester in performing automated scratch tests on multiple samples with high efficiency and
reproducibility.
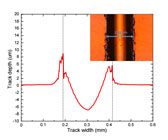
Medición de la dureza al rayado con un tribómetro
En este estudio, el Nanovea Tribómetro se utiliza para medir la dureza al rayado de diferentes metales. El
capacidad de realizar mediciones de dureza al rayado con gran precisión y reproducibilidad hace que
Tribómetro Nanovea un sistema más completo para evaluaciones tribológicas y mecánicas.
Steel Surface Characterization Using 3D Profilometry
The camera is used initially to stitch an image area, 6mm2, and then visually select an area of interest, 2mm2, for measurement. The Nanovea ST400 Perfilómetro is then used to create a height map of the surface and the roughness and pitting were studied.
He aquí algunos ejemplos de materiales que hemos probado este mes:

Mecánica:
• Nanoindentation of multi-layered rubber tubing
• Nanoindentation of dlc coating
• Nanoscratch of thin copper & alumina coating
• Microindentation ultimate tensile strength of steel samples
• Microscratch brittle metallic coatings
• Macroindentation compression of hard particles

Perfilometría 3D sin contacto:
• Roughness of large silicon ingot
• Isotropy of textured cable
• Dimensions of MEMS
• Topography of golf ball
• Topography of fish scale
• Area of textured metal
• Friction testing textured cable
• Friction testing lubrication
• Wear testing dlc coating
• Wear testing treated steel
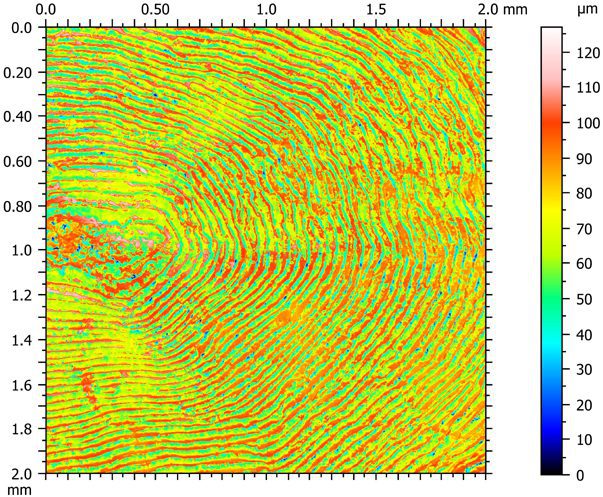
The Profilometer Becomes a Tool For Zoology Research!
Above is a 3D surface measurement of a fish scale with interest to identify front and back surface characteristics. Zoology Research is yet another example of the endless possible applications for the accuracy of the Nanovea Perfilómetro. Learn more in this months application note.
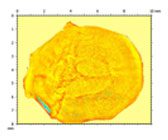
Fish Scale Surface Characterization Using 3D Profilometry
En esta aplicación, el Nanovea ST400 Perfilómetro is used to scan the entire surface of the scale, along with a smaller higher resolution scan in the center of the scale The outer and inner side surface roughness of the scale was also measured for comparison.
Surface Characterization of Fish Scale Using 3D Profilometry
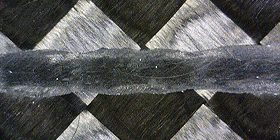
Propiedades mecánicas y tribológicas de la fibra de carbono
Combinado con la prueba de desgaste por Tribómetro y análisis de superficies mediante perfilómetro óptico 3D, nos
mostrar la versatilidad y precisión de los instrumentos Nanovea en el ensayo de materiales compuestos
con propiedades mecánicas direccionales.
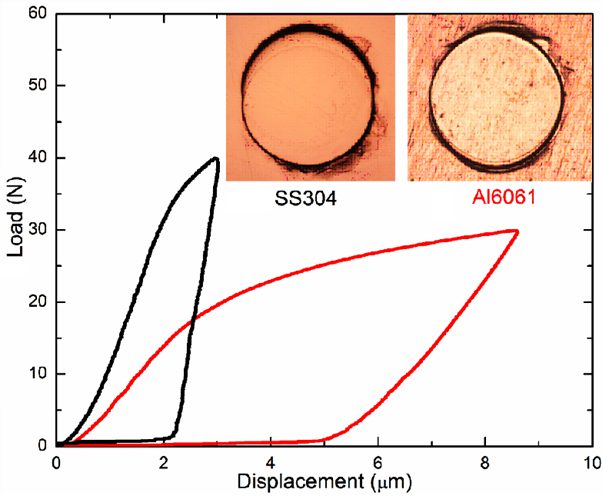
Breakthrough Measurement Proven on Steel & Aluminum
For the first time, Nanovea has developed a breakthrough method of reliably acquiring both yield strength (YS) and ultimate tensile strength (UTS) through the indentation technique; which has significant advantages when compared to the traditional tensile testing. Learn more in this months updated application note.
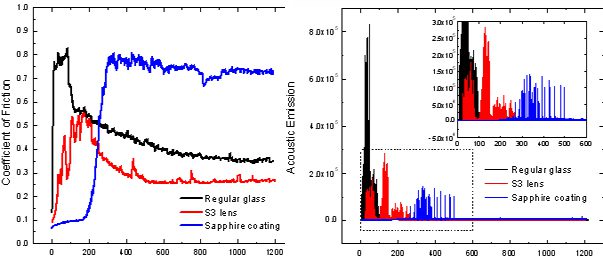
Using Acoustic Emission (AE) During Wear Testing
During Tribómetro wear testing, the constant rubbing process of the counterface against the test sample creates a series of events, such as deformation, cracking, abrasion, phase transformation and material removal. These rapid stress-releasing events are the sources of AE. A quantifiable and reliable measurement of AE can provide more insight in the wear failure mechanism. Learn more in this months application note.


