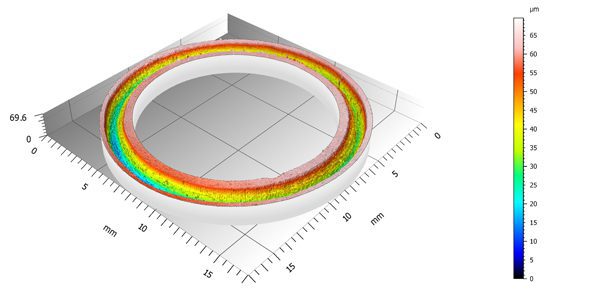
3D Wear Track Scan In Situ on Tribometer
Conventional pin-on-disc or reciprocating tribometer records the COF during the wear test. The wear rate is measured after the wear test by moving the sample to a profilometer and scanning the cross section profiles of the wear track. Such a method may introduce errors when the sample possesses an inhomogeneous wear track. Moreover, samples like multilayer coatings possess different wear resistance at different layers of the coating. A more reliable and repeatable technique for wear evaluation is in need – Nanovea developed a tribometer equipped with a 3D non-contact profilometer that performs a 3D scan of the complete wear track on the sample stage of the tribometer. It monitors the evolution of the 3D wear track morphology, allowing users to accurately calculate the wear rate and determine the failure mode at different stages using one test sample.


